This article is contributed. See the original author and article here.

In this post I will demonstrate how to update the Windows Subsystem for Linux – WSL to version 2 aka WSL2. Once updated, I will demonstrate how to configure Docker to use WSL2 to run a Linux Minecraft Java Edition container natively on Windows without emulation, i.e., without a Hyper-V VM.
Pre-requirement:
Running Windows 10, updated to version 2004, Build 19041 or higher.
Enabling WSL
In case you don’t have the WSL installed, before installing any Linux distributions on Windows, you must enable the Windows Subsystem for Linux optional feature.

Enabling WSL will restart Windows.
Install your Linux distribution of choice
In case you don’t have a Linux distribution installed, you need to download install it from Microsoft Store. Follows some options available:

I am using Ubuntu 20.04 LTS:

Check the WSL version
If you are using the Windows Build 19041 or higher, you can check the WSL version by opening the PowerShell command line and entering the following command:
wsl --list --verbose
So far, I am running the version one:

Now that we have WSL installed, the next step is to update it to version 2.
Enable the ‘Virtual Machine Platform’ optional component
Before installing WSL 2, you must enable the Virtual Machine Platform optional feature.

If you prefer, it is possible to enable the feature using the following command:
Enable-WindowsOptionalFeature -Online -FeatureName VirtualMachinePlatform
In the next session it will be demonstrated how to install WSL2.
NOTE:
If you are using a Virtual Machine, in case WSL2 still complained that Virtual Machine Platform is not installed:

Turn off the VM and run the following command as admin on the host machine:
Set-VMProcessor -VMName Windows10 -ExposeVirtualizationExtensions $true
Installing WSL2
WSL2 is now available in the initial release of Windows 10, version 2004 and Windows Insiders slow ring. But for now, to enable WSL2 you need to manually install the Linux kernel. It is a temporary solution and, in a few months, WSL2 will be automatically updated just like regular updates on your machine.
Use the following direct link to download the installer for the Linux kernel update package:
https://wslstorestorage.blob.core.windows.net/wslblob/wsl_update_x64.msi
The link is available at: https://docs.microsoft.com/en-us/windows/wsl/wsl2-kernel
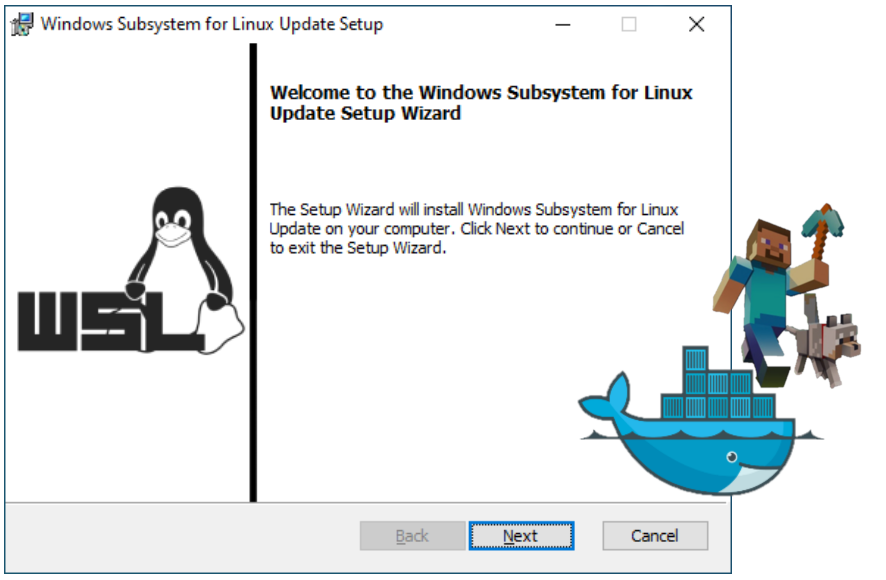
Run the update setup to install WSL2:

The installation process is straightforward and you only need to follows the default options. The following UI will be displayed after successfully updated:

Set your distribution version to WSL 2
Now that you have installed WSL2, it is necessary to run the following PowerShell command to update WSL to version 2:
wsl --set-version Ubuntu-20.04 2
Ubuntu-20.04 is the name of the Linux distribution that I am using. You can run wsl -l -v to list the Linux distributions installed.

Set WSL 2 as your default version
You can run the following command in PowerShell to set WSL 2 as the default version in case you want to install others Linux distribution in the future:
wsl --set-default-version 2

If you run again the following command you will see that WSL2 was successfully installed:
wsl -l -v

In the next session I will configure Docker to use WSL2 for Linux containers on Windows 10.
Enable WSL2 on Docker
Now that we have installed WSL2, we can configure it on Docker Desktop for Windows.
Windows Subsystem for Linux (WSL) 2 introduces a significant architectural change as it is a full Linux kernel built by Microsoft, allowing Linux containers to run natively without emulation.
Docker Desktop uses the dynamic memory allocation feature in WSL 2 to greatly improve the resource consumption. This means, Docker Desktop only uses the required amount of CPU and memory resources it needs, while enabling CPU and memory-intensive tasks such as building a container to run much faster.
Additionally, with WSL 2, the time required to start a Docker daemon after a cold start is significantly faster. It takes less than 10 seconds to start the Docker daemon when compared to almost a minute in the previous version of Docker Desktop.
More details at:
Docker Desktop WSL 2 backend
https://docs.docker.com/docker-for-windows/wsl/
If you are running a supported system, Docker will prompt you to enable WS2 during initialization.
It is possible to enable WSL2 in the Settings > General options:

Now that we have Docker configured to run Linux containers using the WSL2 engine, we can test it with a Minecraft Linux container.
Minecraft Linux Container
To demonstrate the use of Docker with WSL2, I will use the itzg/docker-minecraft-server Docker Linux image that provides a Minecraft Java Edition Server.
You can use the following command to download and run the latest Minecraft Server image:
docker run -e EULA=TRUE -d -p 25565:25565 --name mc itzg/minecraft-server

Observe that with WSL2, the container initialization was only 10 seconds:

I hope you liked!
Follows some references:
Windows Subsystem for Linux Installation Guide for Windows 10
https://docs.microsoft.com/en-us/windows/wsl/install-win10
Updating the WSL 2 Linux kernel
https://docs.microsoft.com/en-us/windows/wsl/wsl2-kernel
Get started with Docker for Windows
https://docs.docker.com/docker-for-windows/
Docker Desktop WSL 2 backend
https://docs.docker.com/docker-for-windows/wsl/
Brought to you by Dr. Ware, Microsoft Office 365 Silver Partner, Charleston SC.

Recent Comments