– Up next, we’ll look at Azure as a platform for running your Linux virtual machine and open source database workloads, from your options for how you can lift and shift existing VMs and databases to Azure, and also modernize them using cloud-native approaches. So, today I’m joined by Matt McSpirit from the Azure engineering team, and also no stranger to Microsoft Mechanics. Welcome back.
– Hi, thanks for letting me back on.
– And thanks for joining us today. So, we wanted to do a show based on Azure support for open source platforms across operating systems, with different Linux distros and also their publishers and open source databases. You might be surprised that more than 50% of the workloads running in Azure are actually running on Linux VMs.
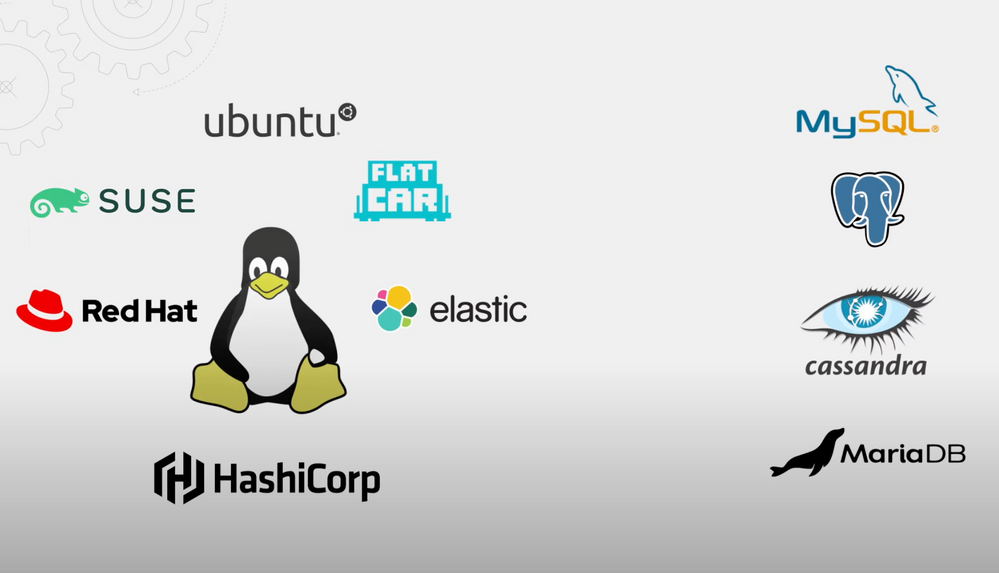
– Yeah, that’s right. And we’ve been working with Red Hat, SUSE, Canonical, Flat Car, Elastic and HashiCorp, and open source databases like MySQL, Postgres, Cassandra, MariaDB, and more for years. And it’s actually more than 60% of our marketplace solutions that run on Linux, and we support open source native PaaS services too. Then beyond the workload level, we also contribute back to the upstream Linux and Kubernetes communities that many of the modern and cloud native architectures rely on.
– Okay. So let’s unpack this a bit more starting with your options then that we have for running infrastructure in VMs. So, if you’re a Linux shop maybe running multiple platforms, what’s the best way to think about running Linux VMs in Azure?
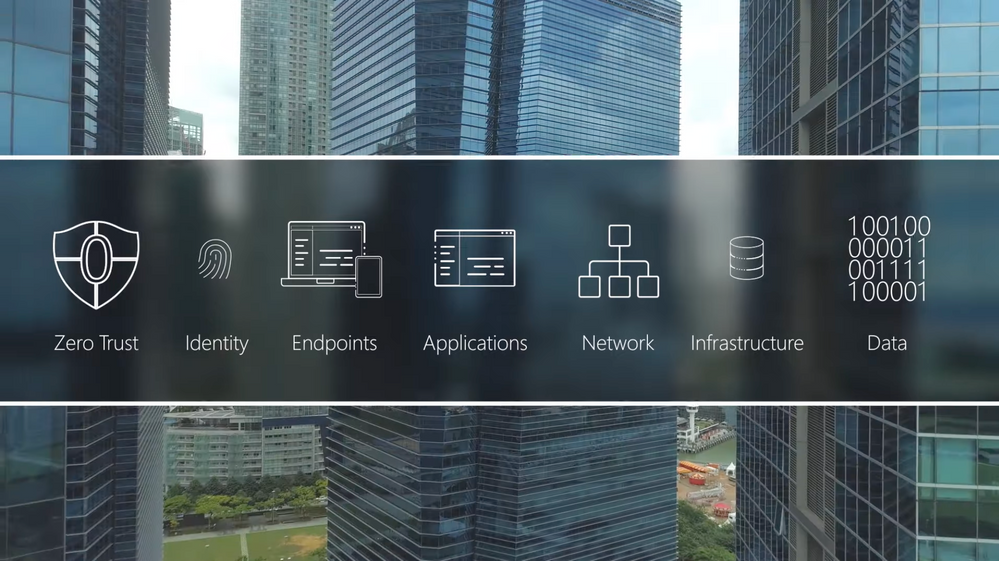
– Well, nearly every business or organization out there is running on multiple platforms. So there isn’t really a concept of a pure Linux shop or a Microsoft shop these days. And both platforms have a lot of pros and cons, and we’ve done a ton of work for performance, reliability, manageability, and security to make Azure the best home for running any open source workload. Now, starting at the foundational level; as I mentioned, we’re working with the leading Linux distros to optimize the kernels for Azure, including tuning the kernel for a Hypervisor, providing updates and patches and performance enhancements for running open source databases. And we also work closely with Red Hat for managed services like Azure Red Hat OpenShift, and SUSE with SAP enhancements. So we want to make sure when you bring your workloads to Azure, there’s benefit in every step of the way, from onboarding to operation, and you gain more security than you may have had on premises, in your private cloud or in another cloud. And whether you’re starting green field or bringing what you’ve already got running through Azure, we’ve got you covered.
– Okay, so spinning up a couple of VMs, I think from Azure is pretty straightforward. But, what if you got dozens or hundreds of VMs that constitute your apps, how would I bring those into Azure?
– Well, Azure Migrate is, as we know, your one-stop shop in Azure for bringing in virtual machines, databases, complete applications, even entire VMware sites into Azure. And of course, you can rebuild or rehydrate everything using automation for the apps you install in VMs running in Azure. And those will work the same as you’d expect. But unless you’ve fully automated that process, you’ll likely save a ton of time using Azure Migrate.
– Great. So, let’s make this real though. Can you show us how you’d move an open source app then from an on-prem system into Azure?
– Sure. Now, first I’ll start by showing you our app called Airsonic. It’s an open source Java app that you can find on GitHub and it’s used to host podcasts, as you can see here. Now, it’s running in an on-prem VMware environment and consists of a frontend VM running on Apache Tomcat on Ubuntu, and a backend VM with MySQL also running on Ubuntu. And I want to migrate and modernize the app. So here’s what I’m going to do. We want to start by lifting and shifting the frontend VM into Azure. Now, as I mentioned, the backend database is running in MySQL on a Linux VM. And instead of lifting and shifting that, I’m going to migrate the data directly from in the VM, into Azure MySQL, a PaaS service, so that I don’t have to worry about managing that VM once the data’s in Azure. And finally, we’ll take the frontend VM from the first step and containerize it so that it runs as a container in the Azure Kubernetes Service. And this step is all about modernization and being able to take advantage of cloud native, scalable compute. And of course, that last step of containerizing the app, well, you can do that from anywhere. It doesn’t need to be currently residing in Azure. I just wanted to start by showing you a lift and shift VM-to-VM migration, because it’s probably where most people will start. So, I’m in Azure Migrate, I’ve already performed a VM discovery on my on-premises, VMware environment. And you can see we’ve got hundreds of Linux virtual machines here.
– Right. And by the way, if you want to see how that process works for Azure Migrate, we’ve got a complete step-by-step guide. So check out our recent show on Azure virtual machine migration using Azure Migrate. Now the process is the same by the way, for both Linux as well as Windows.
– Absolutely. So in my case, since I’ve already run the discovery, I just need to search for the VMs I want to migrate. So in this case, I’m going to search for Woodgrove, and you’ll see that these two VMs that make up our app both are running Ubuntu with two cores and four gigs of RAM. And if I click into software inventory, for this one you’ll see everything running in each machine. I can also see dependencies, which is all the TCP/IP traffic connecting to our VM. This way I can ensure I migrate everything I need to. Now looking at Port 3306, you’ll see my SQL server. And if I switch tabs to my assessment and click into assess Azure VM, then edit our assessment properties, you’ll see all of the options for basic properties, VM size and pricing. Now I’m going to close that and next, I’ll create an assessment using those two VMs. I’ll give it a name, AirsonicPAYG, pay as you go. Now I’ll create a group with my two VMs and I’ll call it Airsonic. Then I’ll search for Woodgrove again, select my two VMs and finally hit create assessment. Now, if I click into the assessment, you’ll see the details for Azure readiness, with cost details for storage and compute. And when I click into Azure readiness, I can also see the recommended VM size, in my case both the standard F1. If I click into cost details, you’ll see the cost estimates broken down by compute and storage. Now I can tweak all of these values, but everything looks good to me and we can start migrating.
– So now that you have the assessment complete, how do you go about doing the actual migration?
– Well, with Azure Migrate, you could move both these VMs and the tools even scale to thousands of VMs if you’ve got a load of apps. But in my case, I’m only replicating the one VM for the front end. So, I’m still in Azure Migrate and below the assessment tools are the migration tools. So I’m going to click into replicate. I’m going to choose my virtualization platform, in this case VMware, select my appliance and hit next. And here I could import my assessment to migrate. But since I just want to migrate the one VM, I’ll specify the settings manually. I’m going to search again for Woodgrove and choose the Airsonic frontend VM and hit next. And here I need to enter standard options in Azure as the target settings, like location, subscription, VNet, etc. Now to save time everything’s filled in, and so I’m going to hit next. Now I can choose my VM size and I’ll just pick a standard D2a_v4 and hit next. I’ll keep all selected in the disks tab, and hit next. And now I’m ready to replicate. So let’s go ahead and do that. That’ll save the contents of the VM into my storage account. And back on the Azure Migrate tab, you’ll see our replication has started. If I click into it I can test from here, but to save a step, I’m just going to go straight into Migrate. Select my server and hit migrate, and in just a moment, it’s now a running clone of my original VM. And as you can see, it’s running now in Azure. Here, I could just continue using the on-premise database if I needed to keep it on-prem, but I’d just need to make sure this VM could reach it, and then just redirect the app’s DNS settings to this new IP.
– Okay. So in this case, your app is still running, but now you’ve got the front end as a VM in Azure, but the database is left running as VM in your on-prem environment. So, how would I move the database then into Azure?
– Well, we’ve got tools that can help with that as well. So, instead of replicating and migrating as a VM, I’m going to convert it to the PaaS service. That way in the future, I don’t need to worry about managing that underlying VM. So let’s do that. We’ll use the Azure Database Migration Service to migrate our databases contents to Azure MySQL. Now DMS works for both MySQL and Postgres. The first thing I needed to do in this case was create a MySQL instance in Azure, which I have done in advance. Now in the MySQL workbench, I set up a tab for my source VMs database on-prem and one for my target in Azure. Knowing the source, I can see all of my tables, but in the target you’ll see there aren’t any tables. Now using the CLI I’ll run a MySQL dump against my source database. Enter the source database password. And with this command, I can see it’s already created a dump, and this is a pretty small database. Now I just need to import the dump I just created into our target database in Azure with this command containing the address. I’ll enter the target’s database password, and this is just copying a schema and a table structure over to the target instance, but not the data yet. And once my dump has moved into the target, I can go back to the my SQL workbench, and in the target database tab I’ll refresh and I can now see all of my tables are there. But they’re still empty, so let’s fill them. So next I’ll head over to the database migration service in Azure. I’ve already created a DMS instance in advance, but now I’ll create a migration project. I’ll give it a name, Airsonic test migration. I’ll choose the target server type and you’ll see additional options here, including Postgres and Mongo, but we’re using MySQL. And now I’ll hit create and run activity. It’s going to ask me for source details, server name or IP. I’ll enter the IP. I’m going to keep Port 3306 into my username, root, and my password, and then I’ll move to the target settings. So I’m going to paste in the server name, its address, my username, Airsonic admin and password. And now I can choose the databases I want to migrate. I only need to move the Airsonic one. So next, I’ll configure the migration settings and you’ll see DMS found our 36 tables. I’ll take a look at everything and keep all the tables selected and move on to the summary. And now I just need to give the activity a name, Airsonic migration 1, and hit start migration. Now I can monitor everything here, but since our database is only a little bigger than two MB, if I hit refresh, you’ll see it’s complete. Now, if I click into it, you’ll see my tables are all complete as well. So now, it’s up and running in our Azure instance. And if you have a large database, we’ve got super fast, parallelized, Azure DMS migration for MySQL, where we’ve been able to burst up to 188 GiB per hour, which is great to minimize the servicing window. And if you need to, you can even migrate deltas between the first and final migration. Now, finally, we would normally update the connection strings so our app knows about the new location of our database. But we’re going to wait, because I want to modernize the front end to run in containers, and that’s going to take just a few minutes. But this will also open up better scalability, and I won’t need to maintain the Ubuntu VM.
– So how do you repackage or convert then your front end VM and everything inside of it so it can run as a container in Azure without having to rewrite the app?
– So for that, I can use another tool from Azure Migrate called app containerization to containerize the front end VM without needing to rewrite the application. So under explore more in the Web apps to Container section, I’ll click into app containerization. And you’ll see this works with ASP.NET apps running in AKS and Java web apps running on Apache Tomcat. Now from there, I’ll download the tool and with it running, I’ll need to specify the app type, in our case, Java. I’m going to walk through the pre-recs and make sure SSH is enabled, then continue. And now I need to log in with my Azure credentials, select my tenant and subscription and continue. And now I can enter the IP address or fully qualified domain name of my server. And I’ll use the IP here and enter the username and password. Now, once I validate connectivity, I can continue and that will discover the apps running on my server, and you’ll see it found our Airsonic app. So I just need to select it and enter the target container, Airsonic V1. And here, I’ll take a look at the parameters. I’ll keep all of these settings and check all the boxes for username, password, and URL and click apply. Now I need to make a slight edit to the app folder location to map everything correctly. So I’ll add a new folder and enter the path. Then I’ll change the target storage to a persistent volume and save my changes. And now we can move on to the build. Now I just need to choose my Azure container registry and select my container. I’ll hit build. And after a moment, it succeeds. So now I can move on to deployment specifications, where I just need to select my AKS cluster called Contoso-AKS, and then continue. Now I’ll specify my file share with subscription, storage account, and the file share. Now to save time, I’ve configured these in advance. Now in the deployment configuration, I need to configure the app. So here’s where I can check the prefix string, ports, replicas, load balancer type, and I’ll keep what’s there, and enter my username, password, and the URL. I’ll keep the storage config as it is, and I’ll hit apply. And now we’re ready to deploy. So I’ll do that, and once it’s finished, I can click into the link here and see the public IP and the resources. And just to test this out, I’m going to go into kube control and run a get service command, and you’ll see our Airsonic containers running along with the external IP and port that we just saw. So now let’s try this in the browser. I’m going to paste in the address and there’s our app, and I’ll make sure everything works and it’s looking good. So now we’ve migrated our app into Azure and even modernized it to use MySQL PaaS and cloud native containers. So it’s going to be way more scalable and easier to manage.
– Okay. So now that your app is running in Azure, what are some of the other things that you can do?
– Well, there’s a lot. But to look at just a few highlights, firstly, there are a ton of options to take advantage of for high availability. So those start with VM options for availability sets and availability zones for redundancy, all the way to disaster recovery solutions to ensure your services are as resilient as you need them to be. Now moving OpenStack into the management layer, we’ve also integrated Linux and open source databases. So, all the scaling and elasticity in Azure works for Linux, such as virtual machines scale sets, diagnostics monitoring and software update management are all built in. You can use the Azure portal to manage all of the Linux-based services. And you can take advantage of proactive security with Azure Defender and the Azure Security Center to keep your infrastructure and your data protected. Plus, there are AI and ML capabilities that can be applied to your Linux stack, enhancing your application and workloads with cognitive services or machine learning services. And if your organization uses managed Linux services, we’ve worked closely with Red Hat and SUSE to offer unique, integrated support experiences where you can raise tickets and our support team will work with Red Hat or SUSE support teams to triage cases together. And in fact, Azure is the only cloud service doing that today.
– Right. And these are just a few examples of how Microsoft is working with the open source community. So Matt, if anyone is watching and they want to get started, what do you recommend?
– To find just about everything related to Linux running on Azure, check out azure.com/linux. And once you’re ready to test out a migration, you can get to Azure migrate at aka.ms/azuremigrate. And to find the tools to migrate your data stores, check out aka.ms/datamigration. We’ve also got a ton of learning content available on Microsoft Learn.
– Thanks Matt, for the comprehensive overview and look at what Microsoft’s doing with the open source community and also how you’d bring your open source apps into Azure. Of course, keep watching Microsoft Mechanics for the news and deep dives in the latest tech. And be sure to subscribe if you haven’t already, and thanks so much for watching.


Recent Comments