This article is contributed. See the original author and article here.
Suppose you are a community leader or an instructor who will run a hands-on lab session for Power Platform. You got content for it. Now it’s time for setting up the lab environment. There are roughly three approaches for the preparation.
- Ask the participants to bring their existing Power Platform environment,
- Ask the participants to set up their environment by themselves, or
- The session leader is preparing the environment for the participants to use.
Each effort has its pros and cons like:
- The first approach would be the easiest and the most convenient for the instructor because it’s based on the assumption that everyone is ready for the exercise. However, you never know if every participant has the same configurations as you expect. It really depends on their organisation’s policy. After all, you, as the session leader, will probably suffer from a lot of unexpected circumstances.
- The second one can be convenient for you as the session leader. It might be as tricky as the first approach. Delegating the environment set-up efforts to the participants may make you free, but at the same time, you should provide an instructional document very thoroughly and carefully. Even if you do so, it entirely depends on the participants’ capability. After all, you should start the lab session by confirming the environment set-up anyway.
- The last option goes to you as the session leader. You prepare everything for the participants. They just come, sit and practice. If you do this set-up by hand, it would be awful. You will not want to do that.
Therefore, as a hands-on lab session leader, I’m going to discuss how to automate all the provisioning process and minimise human intervention by running one PowerShell script.
The PowerShell script used in this post is downloadable from this GitHub repository.
One-Liner Script
Let’s say you use the following information for the admin account.
- Tenant Name:
powerplatformhandsonlab - Tenant URL:
powerplatformhandsonlab.onmicrosoft.com - Admin E-mail:
admin@powerplatformhandsonlab.onmicrosoft.com - Admin Password:
Pa$$W0rd!@#$
With this information, how can you set up the lab environment in just one go? Here’s the entire script and you just run the command below.
    ./Set-Environment.ps1 `

        -AdminUsername “admin” `

        -AdminPassword “Pa`$`$W0rd!@#`$” `

        -TenantName “powerplatformhandsonlab”
Wait, what? What’s going on? Here’s the magic. Let’s find them together.
Create Microsoft 365 Tenant
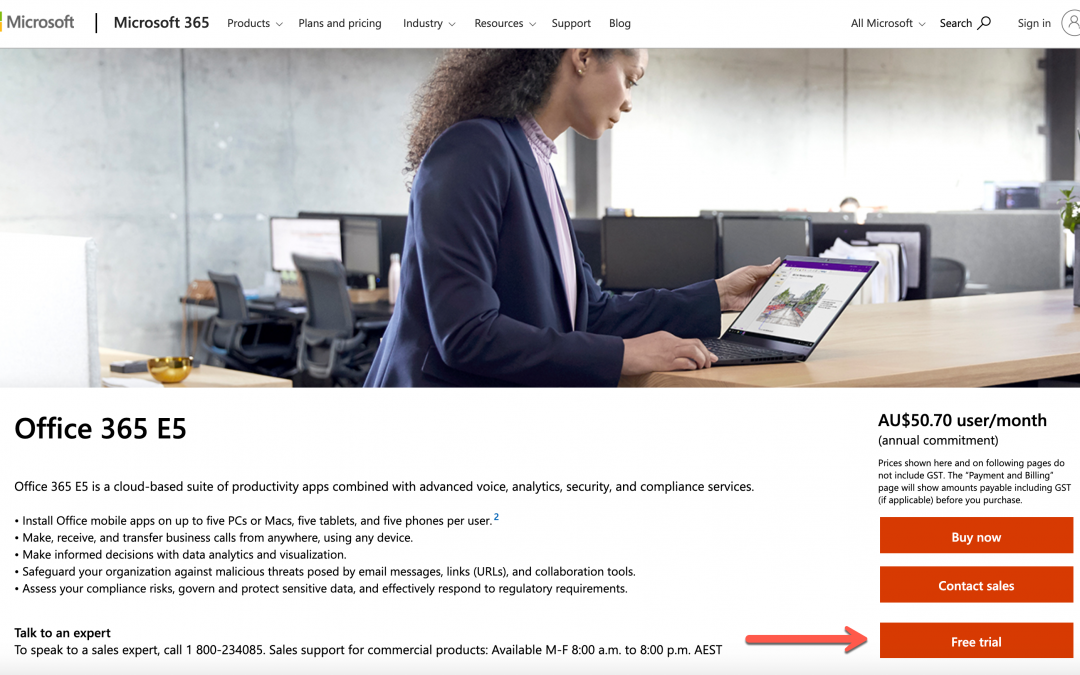
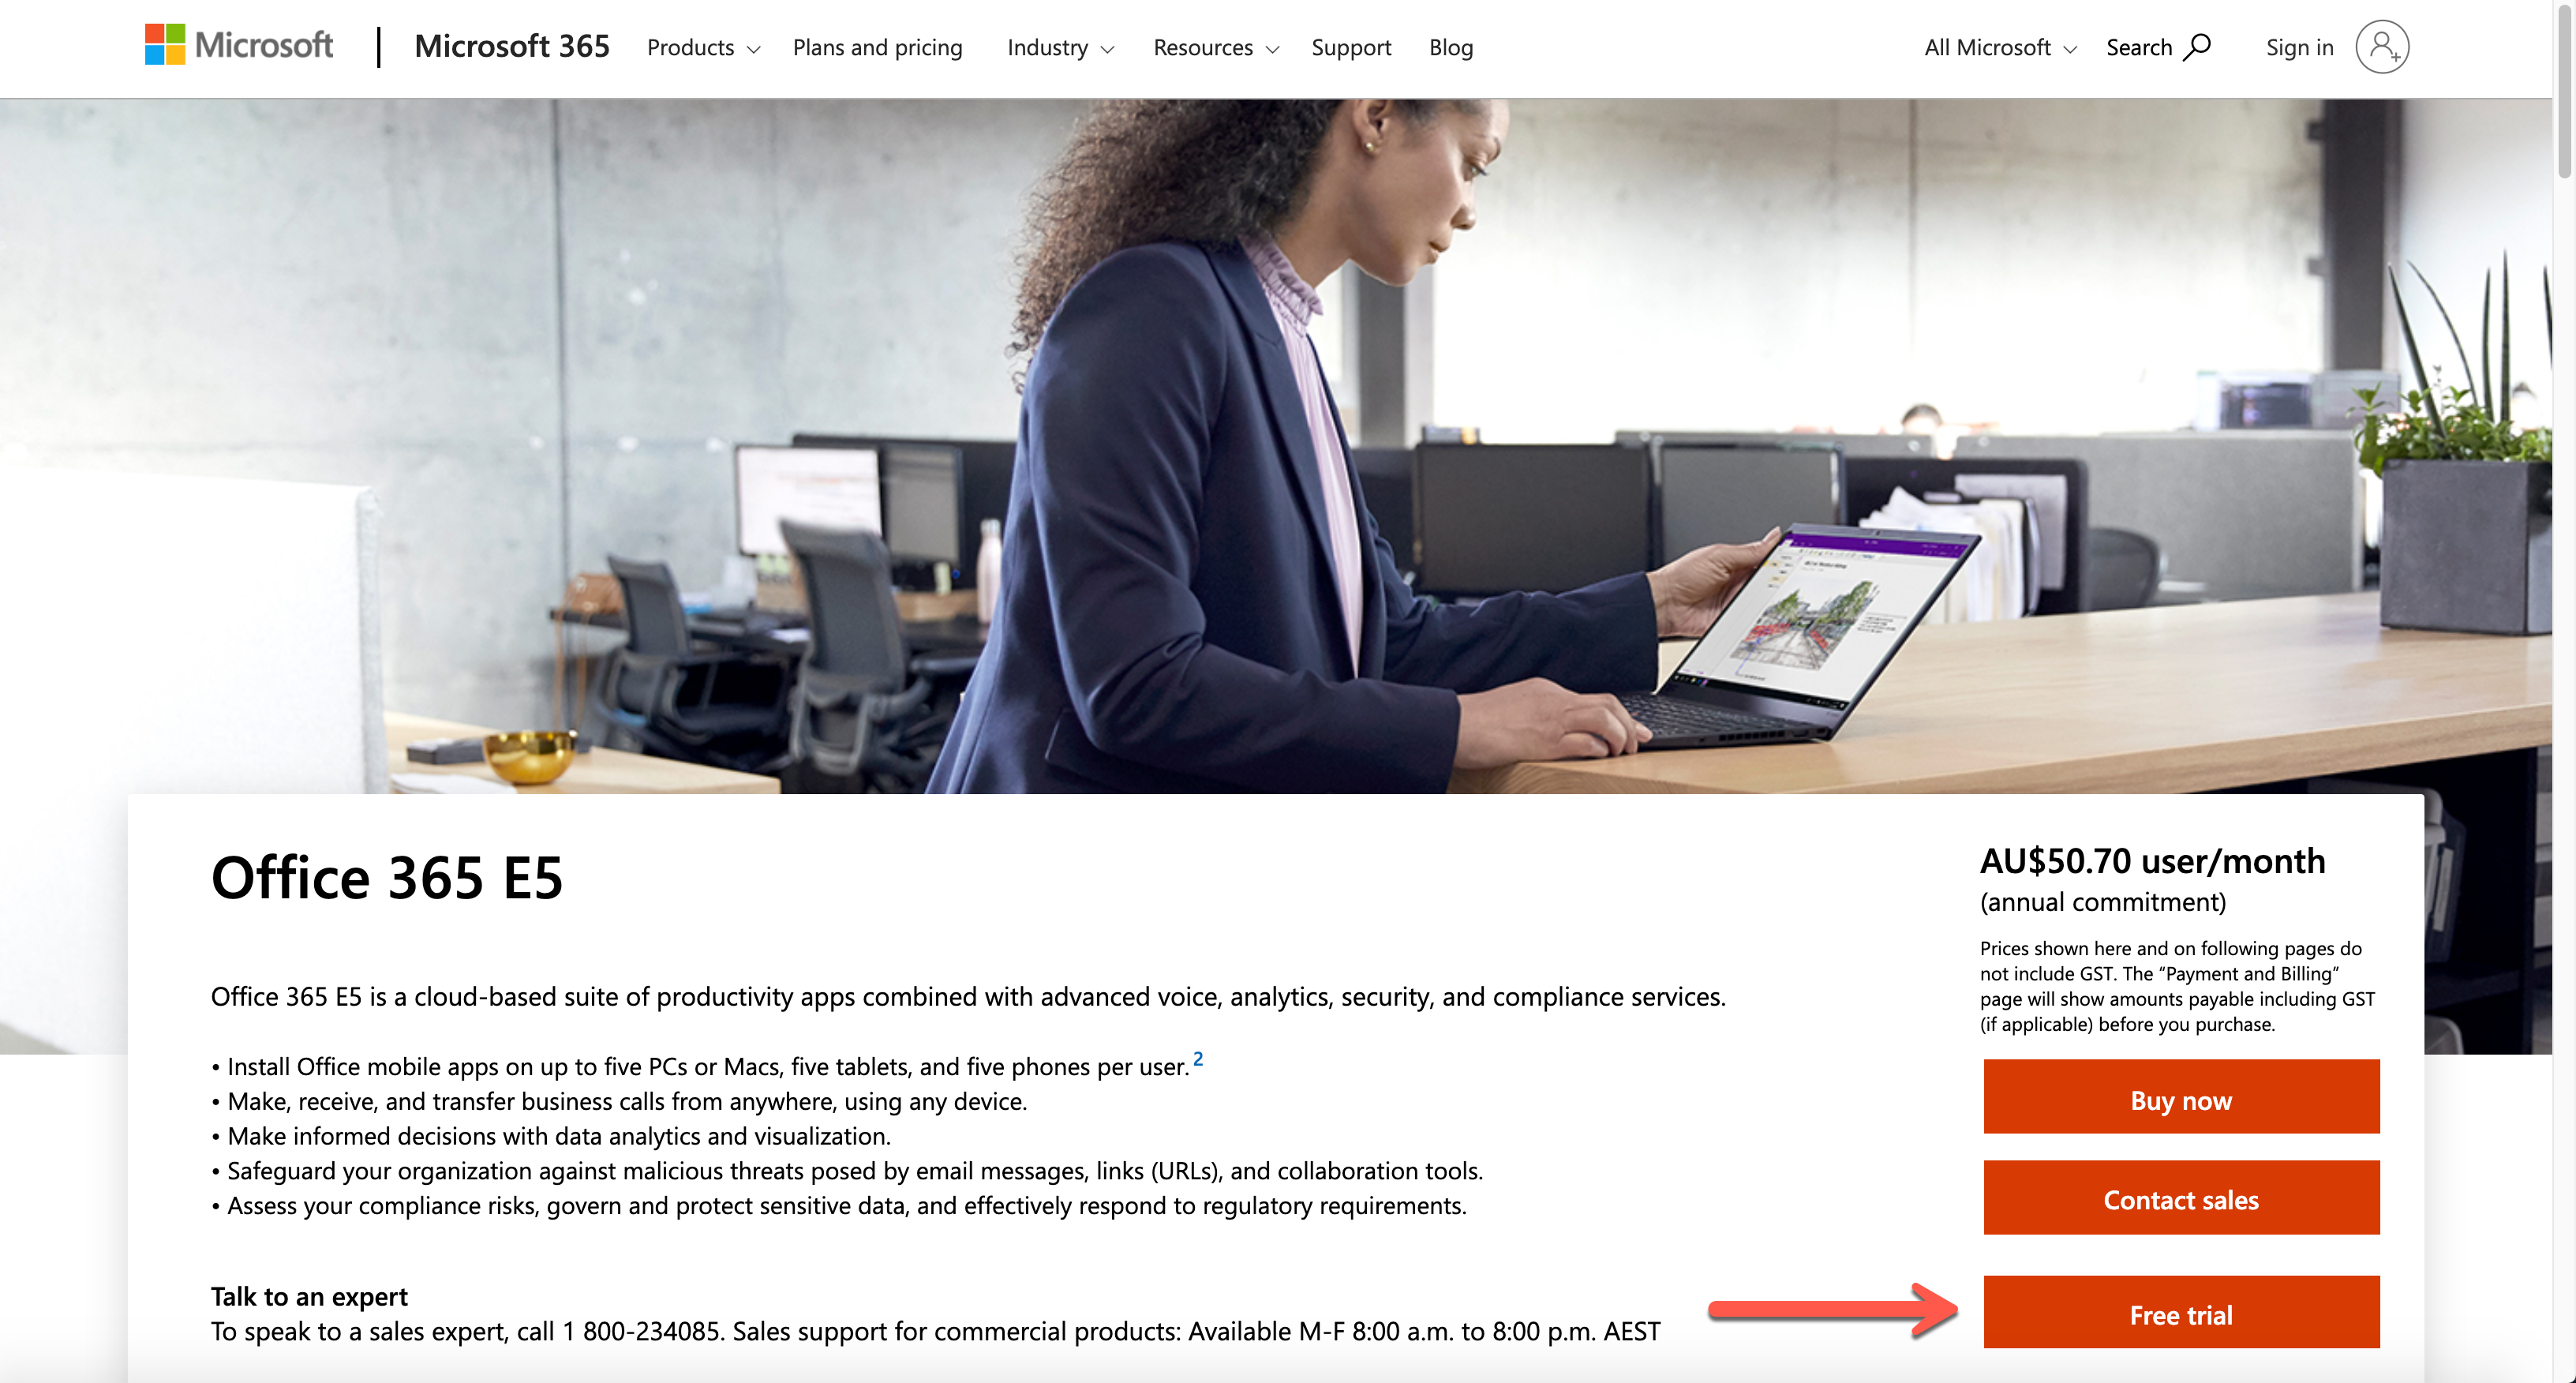
The first step to do as the session leader is to create a Microsoft 365 tenant. Microsoft 365 offers a free trial for 30 days. It includes 25 seats, including the admin account, which is suitable for the lab. Click this link, http://aka.ms/Office365E5Trial, and create the Microsoft 365 E5 plan’s trial tenant.
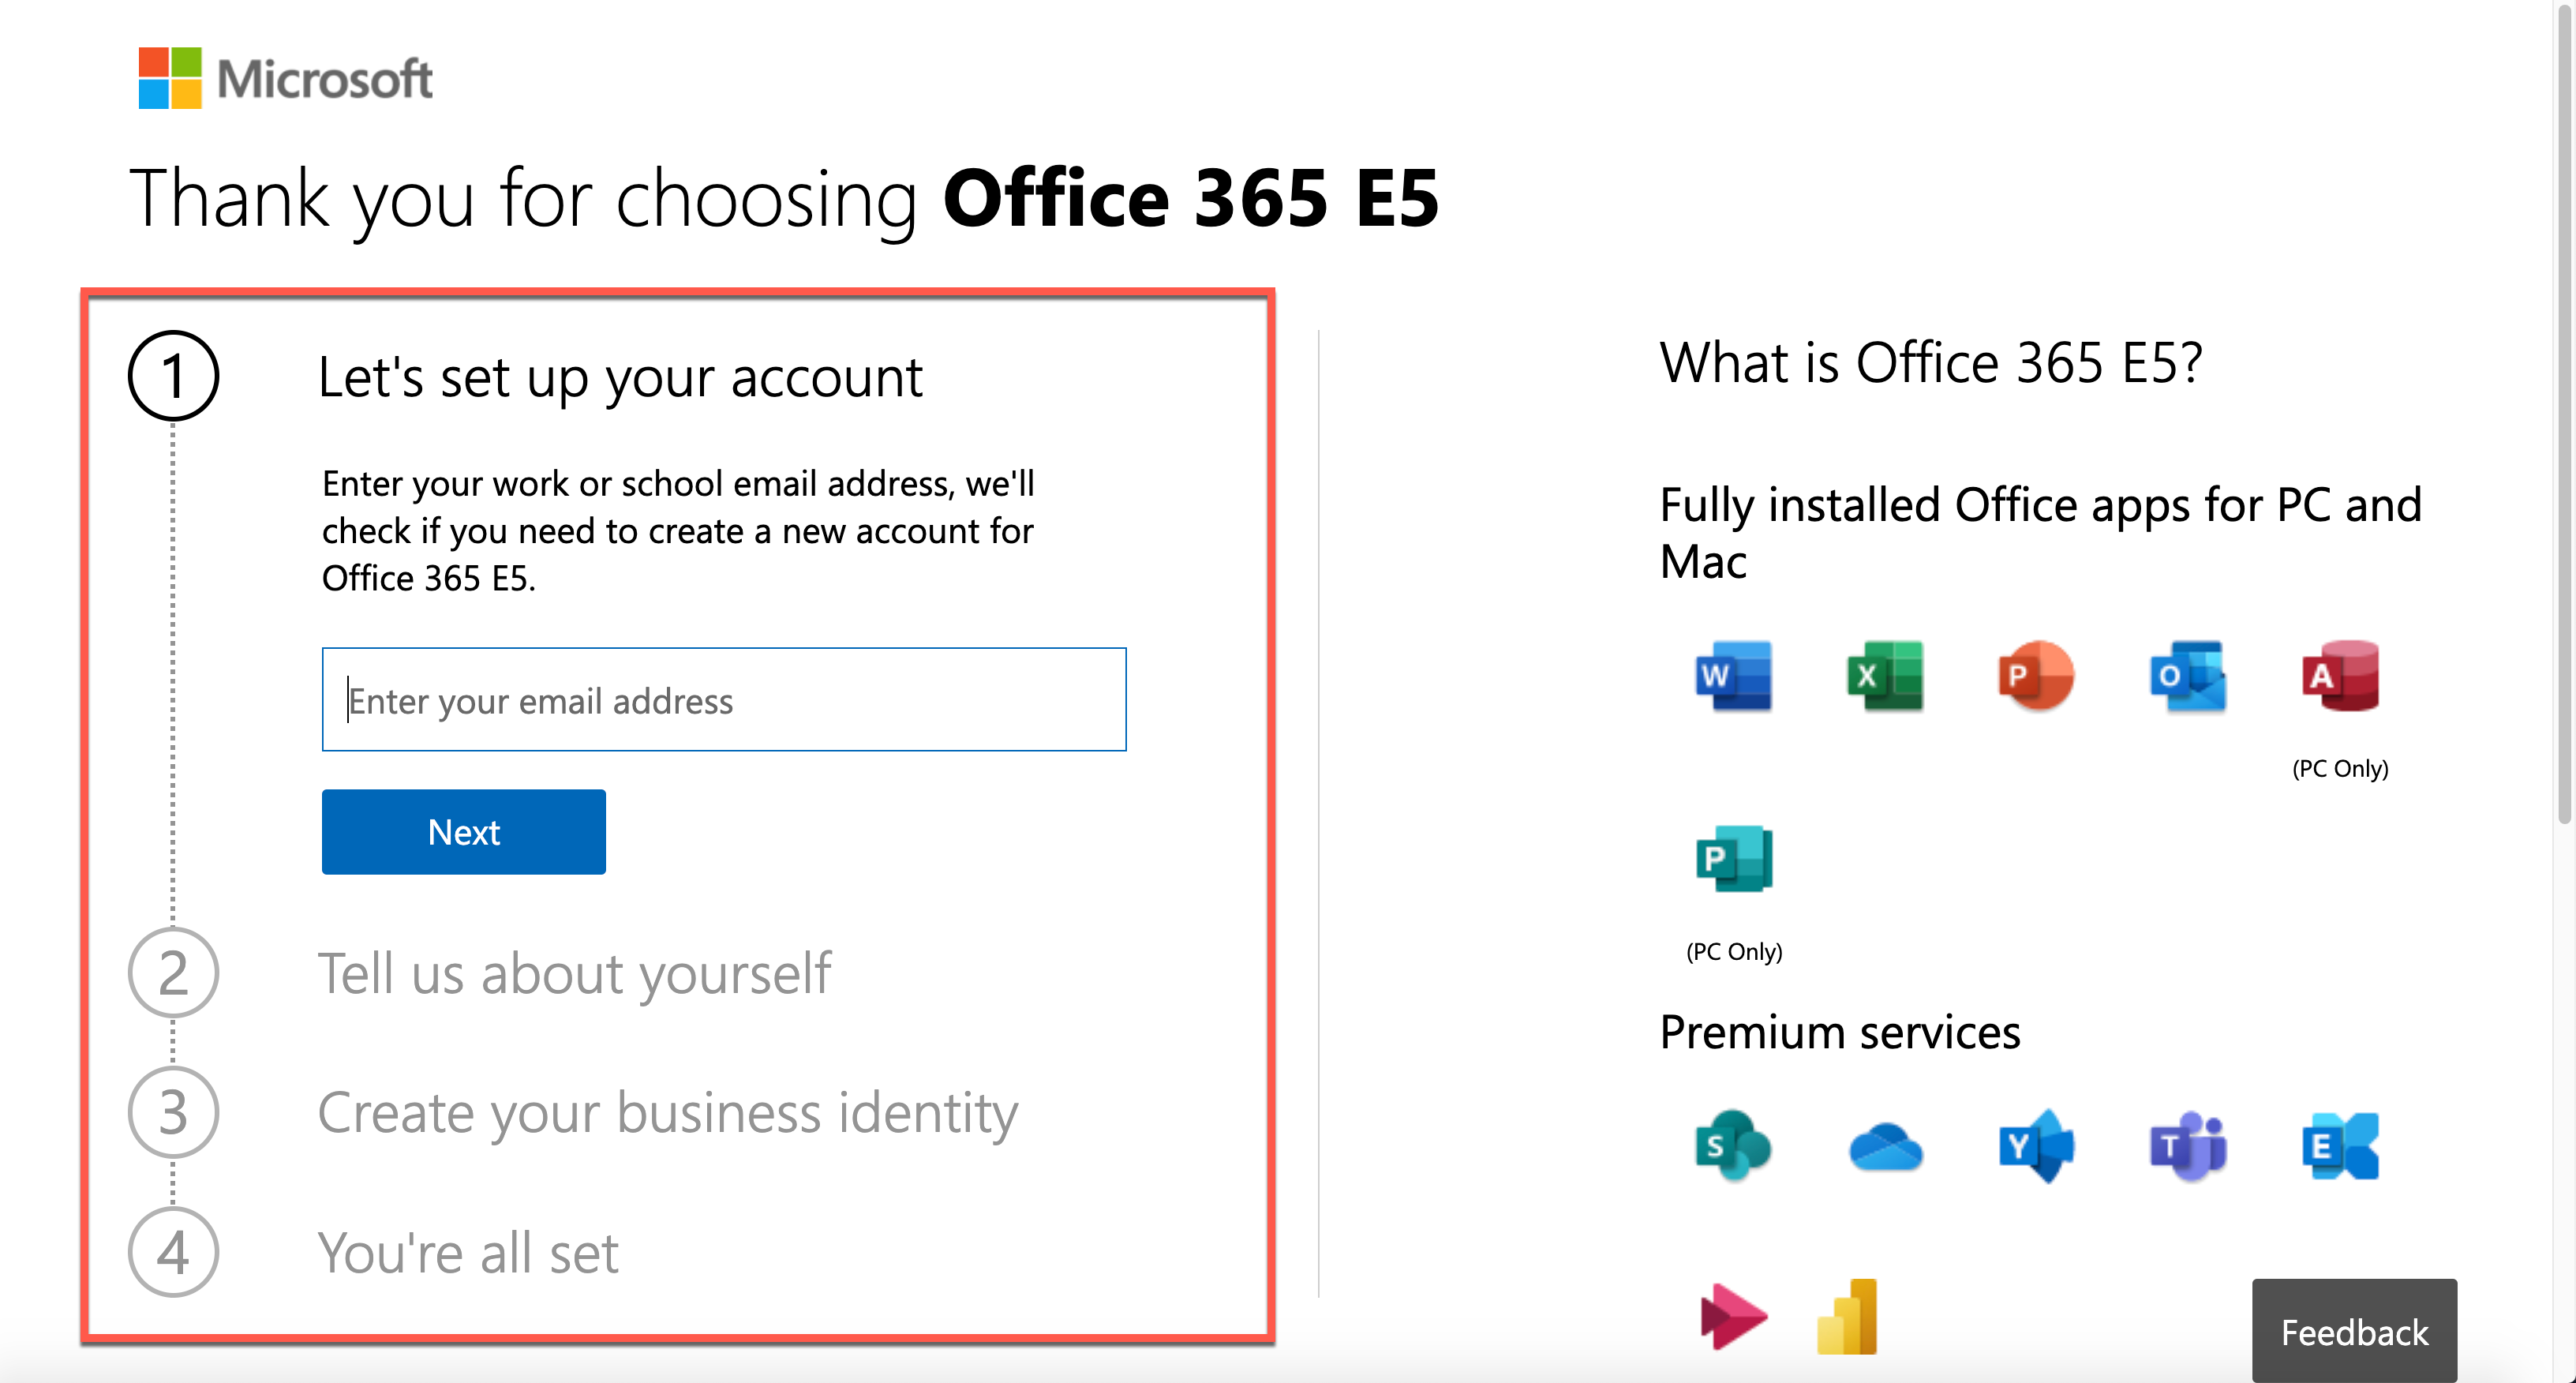
After filling out the form below, you get the trial tenant!
As you’ve got a new tenant, let’s configure the lab environment in PowerShell. Please note that you HAVE TO use the PowerShell console with the admin privilege.
Provisioning Order
There is no particular order for the environment provisioning. However, I would recommend following this order because there’s incompatibility found between PowerShell modules especially between Power Apps and AzureAD:
- Activate Microsoft Dataverse for Power Platform Default Environment
- Add User Accounts
- Assign Microsoft 365 Roles to Accounts
- Assign Microsoft 365 Licenses to Accounts
- Assign Azure Roles to Accounts
If you do the Microsoft Dataverse initialisation later than Azure AD, you will get an error. I’ll discuss it later how to avoid it.
NOTE: To use any of the PowerShell module mentioned in this post, you need PowerShell v5.1 running on Windows. PowerShell Core (v6 and later) doesn’t support this scenario. For more details about this, refer to this page, Connect to Microsoft 365 with PowerShell.
Install AzureAD Module
You can add a new user account to a Microsoft 365 tenant through the AzureAD module. As of this writing, the latest version of the module is 2.0.2.130. Use the Install-Module cmdlet to install the module. If you append these two parameters, -Force -AllowClobber (line #3), it always installs the newest version regardless it’s already installed or not.
    Install-Module -Name AzureAD `

        -Scope AllUsers -Repository PSGallery `

        -Force -AllowClobber
Log-in to AzureAD as Admin
After installing the module, log into the Azure AD as the tenant admin. For automation, you should stay within the console. Therefore, the following command is more efficient for sign-in.
$tenantName = “powerplatformhandsonlab”
$adminUpn = “admin@$tenantName.onmicrosoft.com”
$adminPW = ConvertTo-SecureString “Pa`$`$W0rd!@#`$” -AsPlainText -Force
$adminCredential = New-Object `
-TypeName System.Management.Automation.PSCredential `
-ArgumentList ($adminUpn, $adminPW)$connected = Connect-AzureAD -Credential $adminCredential
Add User Accounts
It’s time to add user accounts. As the trial tenant includes 25 licenses, you can add up to 24 accounts. For more details to add a new user account, refer to this document, Create Microsoft 365 User Accounts with PowerShell. But you just run the following commands. Here are some assumptions:
- Each user has the same password of
UserPa$$W0rd!@#$for convenience, and it’s not allowed change (line #2-4). - Each user has the same location where the tenant resides. For now, it’s
KR(line #6). - You need to create up to 24 accounts, so
ForEach-Objectis the go (line #9). - All user accounts created are added to the
$usersarray object (line #18).
$userPWProfile = New-Object -TypeName Microsoft.Open.AzureAD.Model.PasswordProfile
$userPWProfile.Password = “UserPa`$`$W0rd!@#`$”
$userPWProfile.EnforceChangePasswordPolicy = $false
$userPWProfile.ForceChangePasswordNextLogin = $false$usageLocation = “KR”
$users = @()
(1..24) | ForEach-Object {
$user = New-AzureADUser `
-DisplayName $(“PPUser” + $_.ToString(“00”)) -GivenName $(“User” + $_.ToString(“00”)) -SurName “PP” `
-UserPrincipalName $(“ppuser” + $_.ToString(“00”) + “@$tenantName.onmicrosoft.com”) `
-UsageLocation $usageLocation `
-MailNickName $(“ppuser” + $_.ToString(“00”)) `
-PasswordProfile $userPWProfile `
-AccountEnabled $true$users += $user
}
Assign Microsoft 365 Roles to User Accounts
The user accounts need to have appropriate Microsoft 365 roles. As it’s the hands-on lab configuration, you can assign the Power Platform admin role to each user account. For more details of the Microsoft roles assignment, refer to this Assign Admin Roles to Microsoft 365 User Accounts with PowerShell page. Run the following command to activate the Power Platform admin role.
$roleName=”Power Platform Administrator”$role = Get-AzureADDirectoryRole | Where-Object { $_.DisplayName -eq $roleName }
if ($role -eq $null) {
$roleTemplate = Get-AzureADDirectoryRoleTemplate | Where-Object { $_.DisplayName -eq $roleName }
$enabled = Enable-AzureADDirectoryRole -RoleTemplateId $roleTemplate.ObjectId$role = Get-AzureADDirectoryRole | Where-Object { $_.DisplayName -eq $roleName }
}
The admin role has now been stored in the $role object. Now, iterate the $users array to assign the role.
    $users | ForEach-Object {

        $assigned = Add-AzureADDirectoryRoleMember `

            -ObjectId $role.ObjectId `

            -RefObjectId $_.ObjectId

    }
Assign License to User Accounts
To use Power Platform within the tenant, each user MUST have a license for it. You can assign the license through the PowerShell command. For more details, visit this Assign Microsoft 365 licenses to user accounts with PowerShell page.
First of all, let’s find out the licenses. As soon as you create the trial tenant, there SHOULD be only one license, whose name is ENTERPRISEPREMIUM.
Get-AzureADSubscribedSku
Then, run the following command to assign the license to all users by iterating the $users array.
$sku = Get-AzureADSubscribedSku$license = New-Object -TypeName Microsoft.Open.AzureAD.Model.AssignedLicense
$license.SkuId = $sku.SkuId$licensesToAssign = New-Object -TypeName Microsoft.Open.AzureAD.Model.AssignedLicenses
$licensesToAssign.AddLicenses = $license$users | ForEach-Object {
$assigned = Set-AzureADUserLicense -ObjectId $_.ObjectId -AssignedLicenses $licensesToAssign
}
So far, you’ve completed automating processes to create a trial tenant, create user accounts, and assign roles and licenses.
Activate Microsoft Dataverse for Power Platform Default Environment
Power Platform internally uses Microsoft Dataverse as its database. Microsoft Dataverse is fundamentally essential for other Microsoft 365 services to use. You can also initialise it through PowerShell commands. For more details, visit the Power Apps Cmdlets for Administrators page.
First, you need to install both PowerShell modules, Microsoft.PowerApps.Administration.PowerShell and Microsoft.PowerApps.PowerShell. Like the previous installation process, use the -Force -AllowClobber option to install the modules or reinstall both if they already exist (line #3, 7).
Install-Module -Name Microsoft.PowerApps.Administration.PowerShell `
-Scope AllUsers -Repository PSGallery `
-Force -AllowClobberInstall-Module -Name Microsoft.PowerApps.PowerShell `
-Scope AllUsers -Repository PSGallery `
-Force -AllowClobber
Log into the Power Apps admin environment, using $adminUpn and $adminPW values.
$connected = Add-PowerAppsAccount -Username $adminUpn -Password $adminPW
NOTE: You might not be able to log into the Power Apps admin environment with the following error.
It’s because the internal log-in process for both Microsoft 365 tenant and Power Apps environment are different from each other. If it happens to you, don’t panic. Just open a new PowerShell console with an admin privilege and attempt to log in.

Here are some assumptions for the Microsoft Dataverse initialisation:
- Initialise Microsoft Dataverse on the default environment (line #1),
- Follow the currency settings of the default environment (line #5), and
- Follow the language settings of the default environment (line #10).
$paenv = Get-AdminPowerAppEnvironment -Default
if ($paenv.CommonDataServiceDatabaseProvisioningState -ne “Succeeded”) {
$currency = Get-AdminPowerAppCdsDatabaseCurrencies `
-LocationName $paenv.Location | Where-Object {
$_.IsTenantDefaultCurrency -eq $true
}$language = Get-AdminPowerAppCdsDatabaseLanguages `
-LocationName $paenv.Location | Where-Object {
$_.IsTenantDefaultLanguage -eq $true
}$activated = New-AdminPowerAppCdsDatabase `
-EnvironmentName $paenv.EnvironmentName `
-CurrencyName $currency.CurrencyName `
-LanguageName $language.LanguageName
}
Assign Azure Subscription
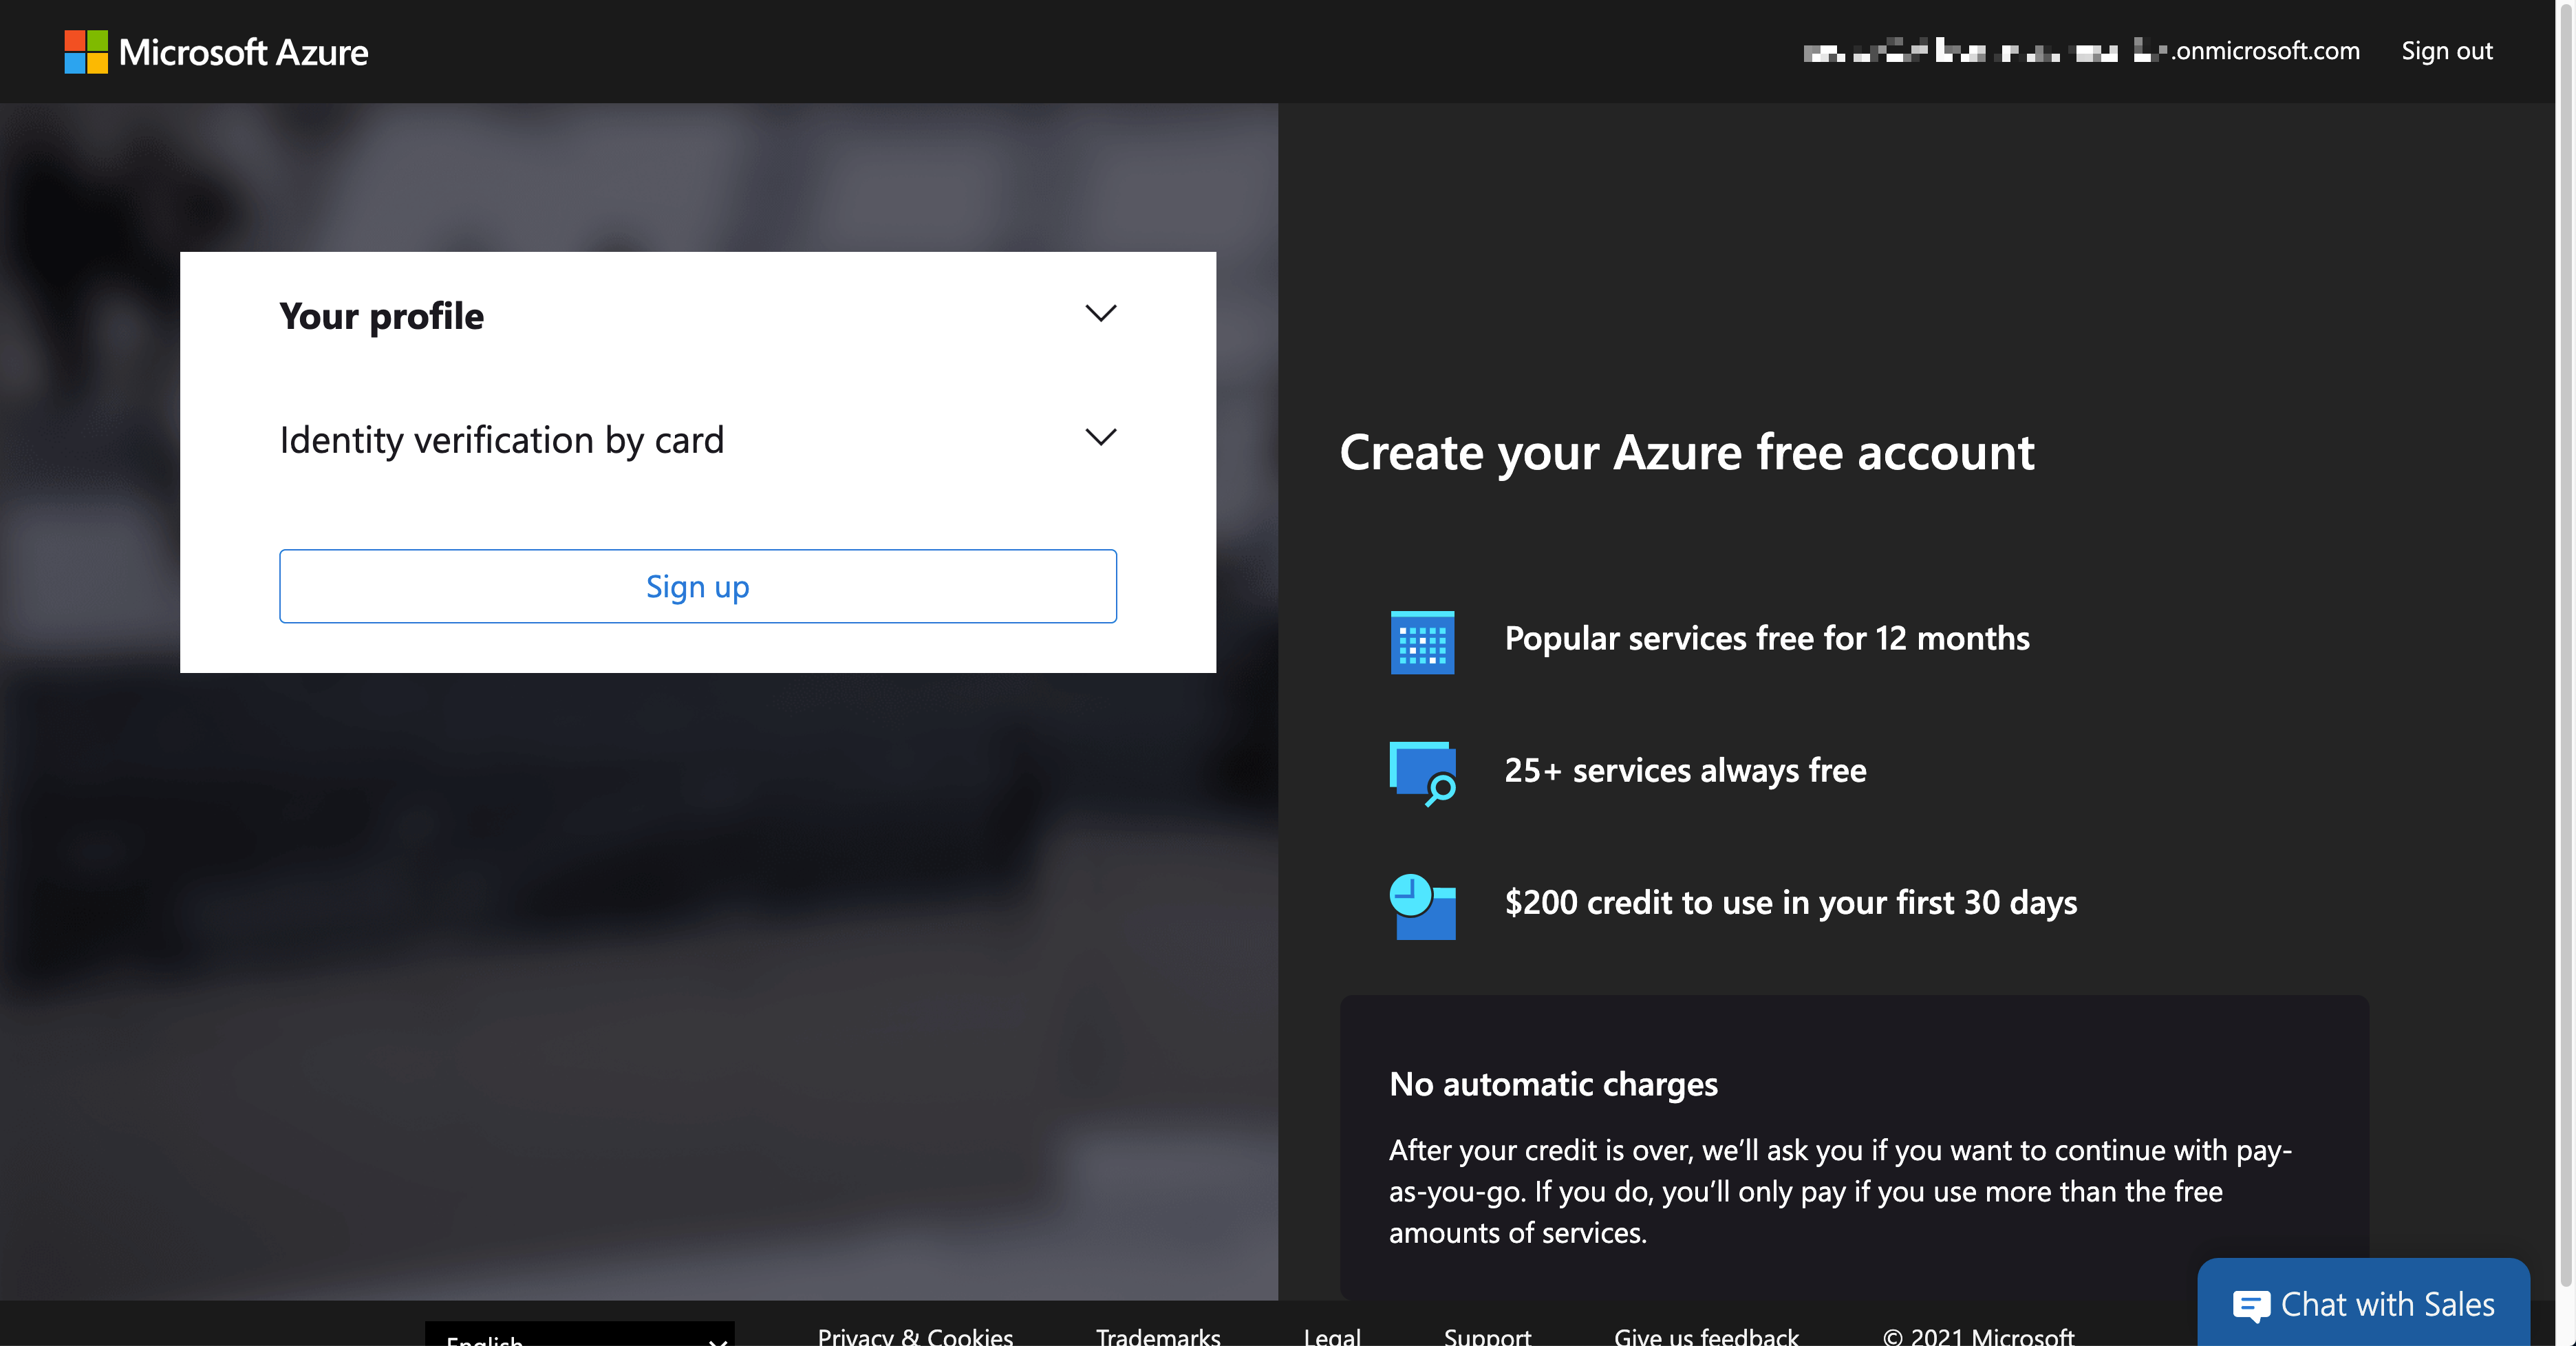
Building custom connectors is inevitable while using Power Platform. In this case, you might need to handle resources on Azure, which requires an Azure subscription. If you create the trial tenant for Microsoft 365, you can also activate the trial Azure subscription. As it requires credit card verification, it MUST be done within Azure Portal. If you log into Azure Portal with your admin account, you can see the following screen.
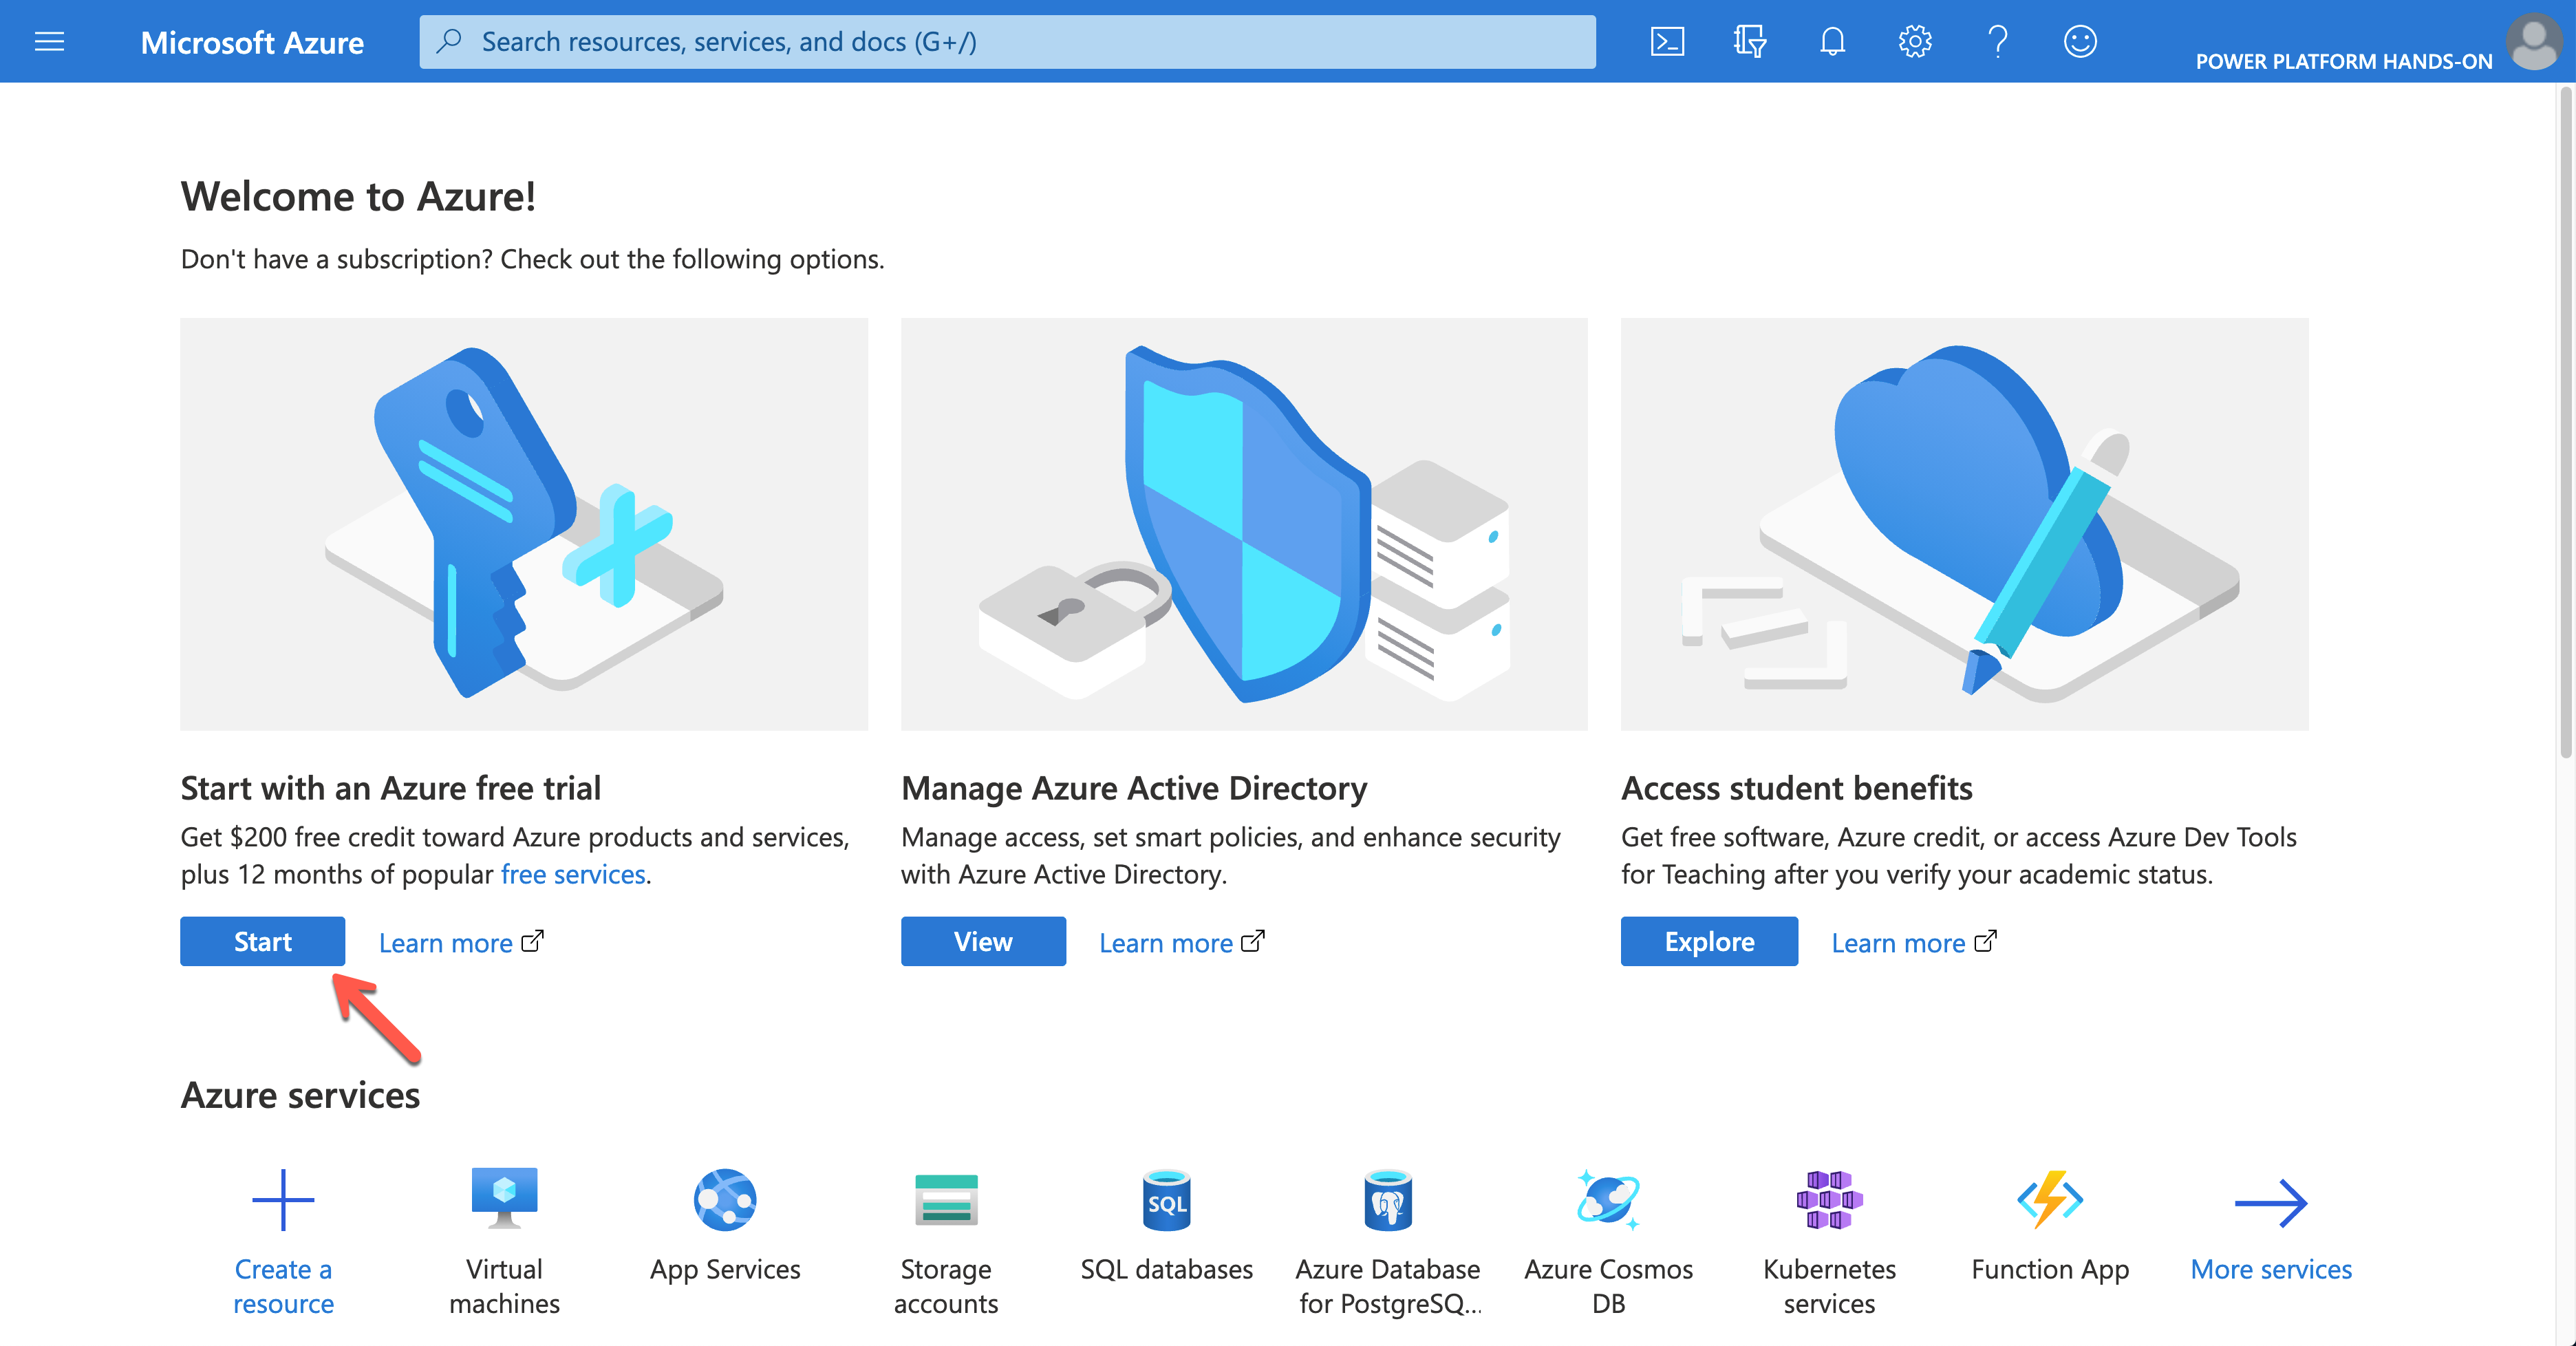
Click the Start button to sign-up for the trial subscription.
Once completing the trial subscription, log in to Azure using the PowerShell command below. The $adminCredential object is the same one used for Azure AD log-in.
$connected = Connect-AzAccount -Credential $adminCredential
NOTE: You SHOULD install the Az module beforehand.
Install-Module -Name Az -Scope AllUsers -Repository PSGallery -Force -AllowClobber
Only a limited number of resources are available in the trial subscription. For custom connectors, mainly Azure Logic Apps, Asture Storage Account, Azure Virtual Network, Azure API Management and Azure Cosmos DB are supposed to use. Therefore, to use those resources, run the following command to register those resource providers.
$namespaces = @(
“Microsoft.Logic”,
“Microsoft.Storage”,
“Microsoft.Network”,
“Microsoft.ApiManagement”,
“Microsoft.DocumentDB”
)$namespaces | ForEach-Object {
$provider = Get-AzResourceProvider `
-ProviderNamespace $_ | Where-Object { $_.RegistrationState -eq “Registered” }
if (($provider -eq $null) -or ($provider.Count -eq 0)) {
$registered = Register-AzResourceProvider -ProviderNamespace $_
}
}
Then, assign the subscription to each user account. For Azure Roles, visit this Assign Azure Roles Using Azure PowerShell page for more details.
NOTE: Instead of scoping the entire subscription to each user account, it’s better to create a resource group for each user, scope to the resource group and assign it to each account. For the resource group, you need a location. In this example,
koreacentralis used.
    $role = Get-AzRoleDefinition | Where-Object { $_.Name -eq “Contributor” }

    $location = “koreacentral”
    $users | ForEach-Object {

        $rg = Get-AzResourceGroup | Where-Object {

            $_.ResourceGroupName -eq $(“rg-” + $_.MailNickName)

        }

        if ($rg -eq $null) {

            $rg = New-AzResourceGroup `

                -Name $(“rg-” + $_.MailNickName) `

                -Location $location

        }
        $assigned = New-AzRoleAssignment `

            -ObjectId $_.ObjectId `

            -RoleDefinitionId $role.Id `

            -Scope $rg.ResourceId

    }
All users are now able to access to Azure resources for the exercise.
So far, we’ve walked through how to automatically provision a Power Platform environment for hands-on labs, using PowerShell. Now, if you are going to run a hands-on lab session and need a new environment, simply run the code above. Then, it’s all good to go!
This article was originally published on Dev Kimchi.
Brought to you by Dr. Ware, Microsoft Office 365 Silver Partner, Charleston SC.

Recent Comments