This article is contributed. See the original author and article here.
It is always interesting to hit the wall with limitations when you are working with Power Automate. Some limits are due to licensing but some are due to other good reasons. I was running a PoC where a person interacting with a Power Virtual Agent bot required to do actions on behalf of that person. And after digging some information out (Thank you @Tomasz for helping there! ) it was clear that I had reached the wall when I was trying to make my little bot to set up Out of Office for the interacting user. Using the Office 365 Set Automatic Replies action always works on the connection user only. And since you can not act on behalf of that user it required to go beyond the wall and say “there is no spoon”. And I found it there wasn’t a spoon- just the miracle world of Graph API.
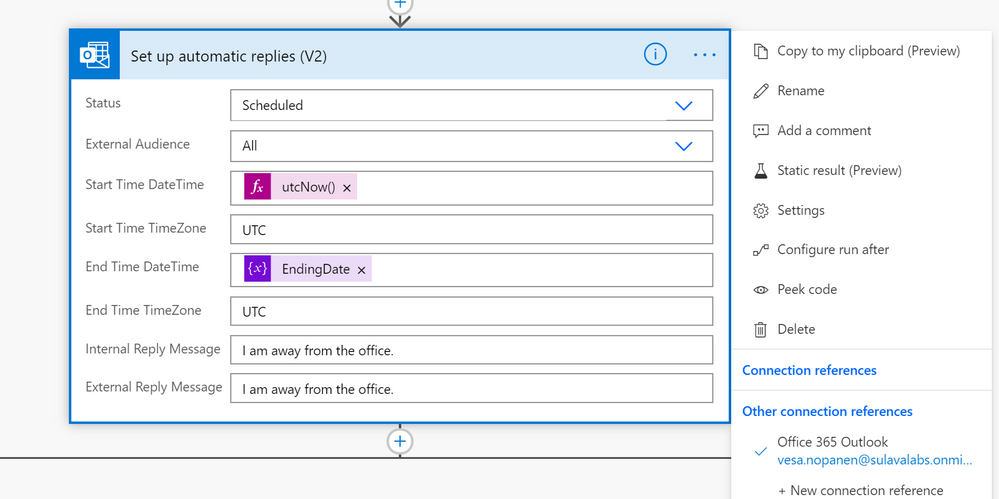
From that phase I advanced to create
- Azure Logic Apps that uses Graph API to set the Out of Office / Automatic replies to a specific user.
- Setting up a Azure API Management service so that Azure Logic App can be called from the Cloud Flow running inside Power Virtual Agent – and still keep on using standard licensing (no need to go to premium)
First it was necessary to create the Azure App Registration (applicationid, secret) with suitable set of API permissions. After that it was all about figuring out the Graph API call & JSON to set the Automatic Reply / Out of Office. Read the documentation (& about permissions) from Docs here.
Next I built a Azure Logic Apps that uses HTTP Request trigger (get) to retrieve user email and number of away days in parameters.
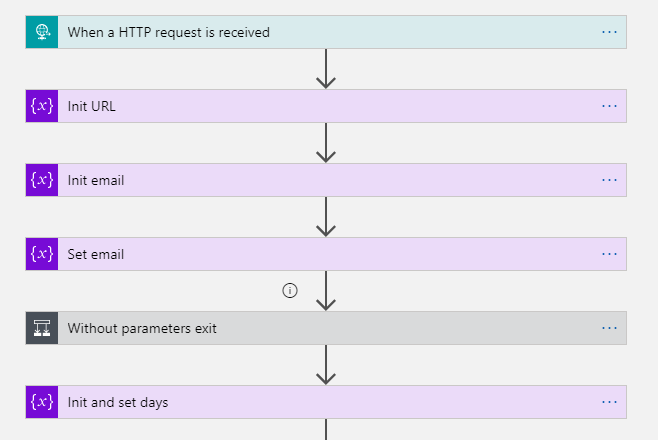
This is the format to exclude parameters from the GET request. triggerOutputs()[‘queries’][‘FileID’]
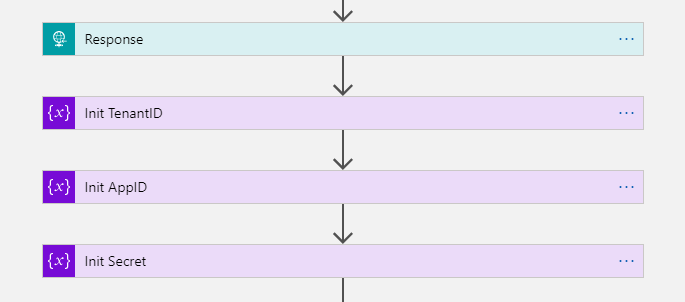
After those steps I have user email and number of days that needs to be set Out of Office. I returned the HTTP-request and prepared variables with Application ID, TenantID and App Secret information to be able to call Graph API with application permissions.
The key is of course setting the Out of Office information JSON.
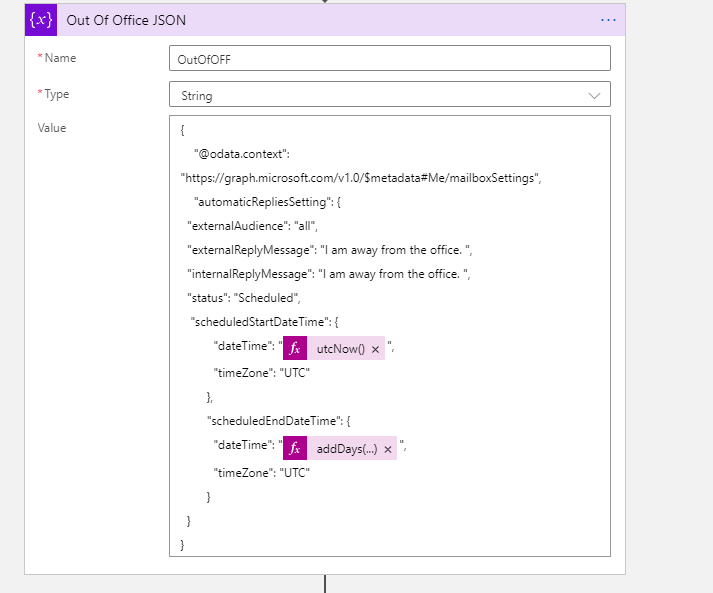
The Graph API call URL and example JSON I used to test this are:
https://graph.microsoft.com/v1.0/users/useremail/mailboxsettings

{
    "@odata.context": "https://graph.microsoft.com/v1.0/$metadata#Me/mailboxSettings",
     "automaticRepliesSetting": {
     "externalAudience": "all",
      "externalReplyMessage": "I am away from the office. ",
      "internalReplyMessage": "I am away from the office. ",
      "status": "Scheduled",
      "scheduledStartDateTime": {
          "dateTime": "2021-04-17T18:00:00.0000000",
          "timeZone": "UTC"
        },
       "scheduledEndDateTime": {
          "dateTime": "2021-04-18T18:00:00.0000000",
          "timeZone": "UTC"
        }
  }
}
Then it was just the case of patching the information
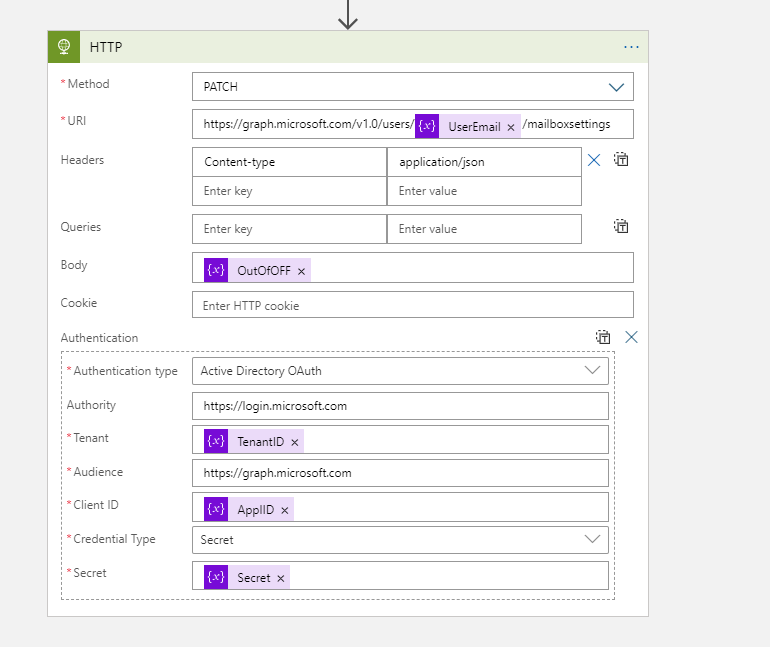
The next step was to create the Azure API Management Service and define the API call there. There are two ways to handle the information transportation: in the body (as JSON) or as parameters. I put the Username and Days in this Proof of Concept to parameters.
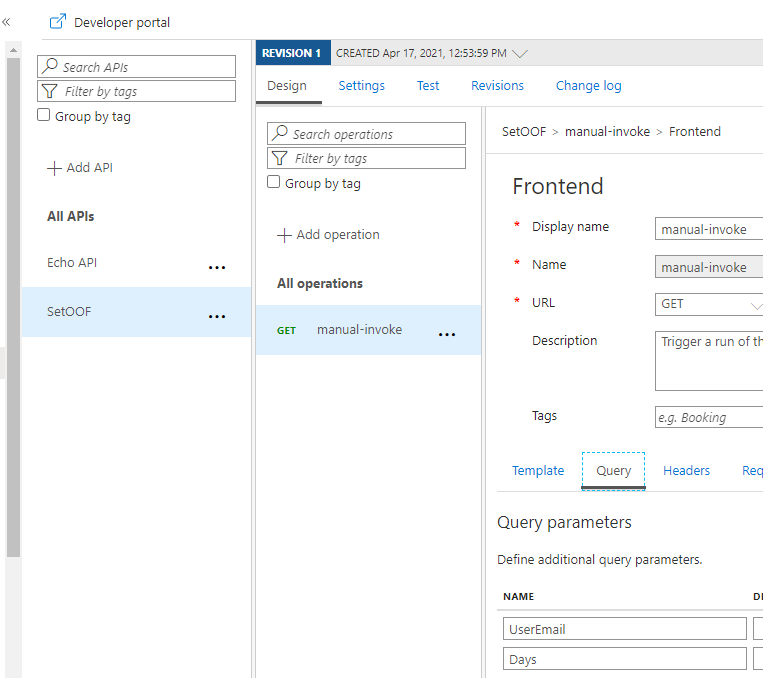
For how to create and set up Azure API Management you can find information in this URL. It is good to keep in mind that Azure API Management has a cost involved – it is not a free one. I created the one with Developer (No SLA) tier to keep costs lower. And it still estimated to be over 40€ per month. For production use the price will be higher.
Another alternative would have been to put the “set these to Out of Office” information to a SharePoint List (for example) and use a Azure Logic Apps trigger to read that list and make those API Calls. That would have some delay, but since Out of Office is rarely requiring an instant response it would be a better one for the real world scenario in this case. However if you are already using Azure API management then using it for this as well is a good idea. But setting it up solely for a single purpose does not get a good ROI for most cases.
After setting the API up into the Azure you can export it directly to the Dataverse for Teams environment – so it is there for the bot to use without any Premium licensing.

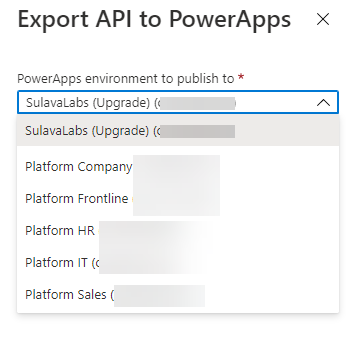
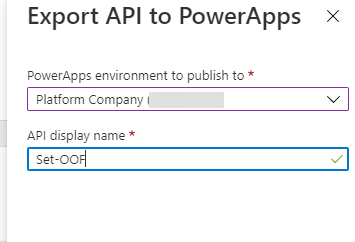
When adding an action to your Cloud Flow in the Dataverse for Teams environment where your bot runs you can find the custom action in the menu.
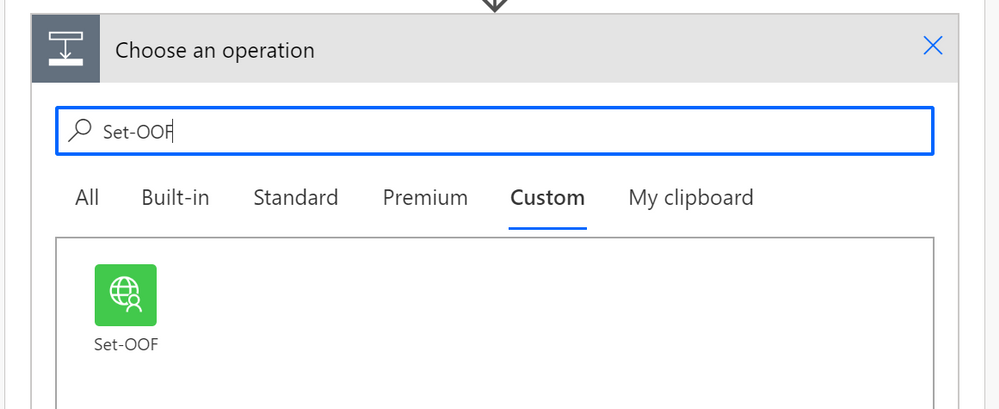

Cool – what about the test-run side?
And when running this one from the PVA of the acting user I can see the results via Teams easily
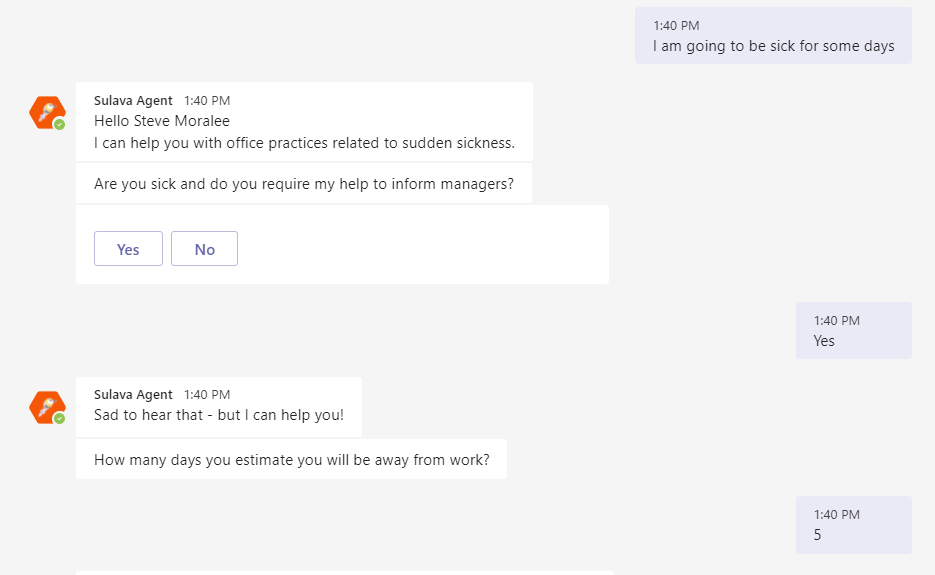
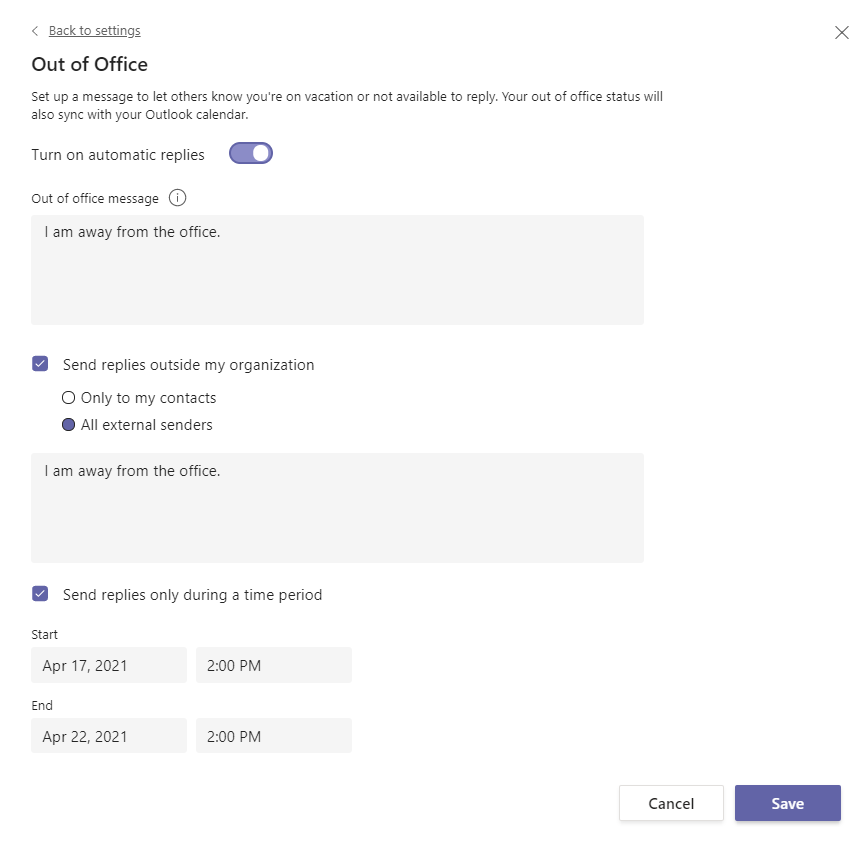
There are of course other steps as well in that PoC conversation & flow but setting up the Out of Office proved to require a bit more steps than I originally thought. I have to say that this was also a great learning experience about updating user mailbox settings via Graph API and as well about using Azure API management to create a custom connector to Power Automate.
With Azure API Management & Graph API you can quite easily go beyond the walls what you have with Dataverse for Teams bots and applications.
This article is a repost of my blog post in my own blog at MyTeamsDay.Com.
Brought to you by Dr. Ware, Microsoft Office 365 Silver Partner, Charleston SC.


Recent Comments