This article is contributed. See the original author and article here.
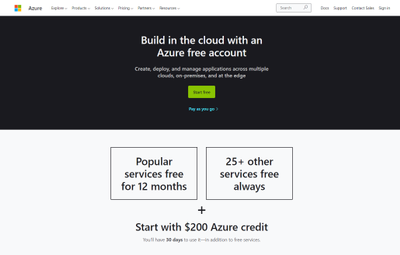
Getting started with Azure Purview for data governance is quick and easy. First, if you don’t already have an Azure account, get instant access and $200 of credit to try Azure Purview by signing up for a free account.
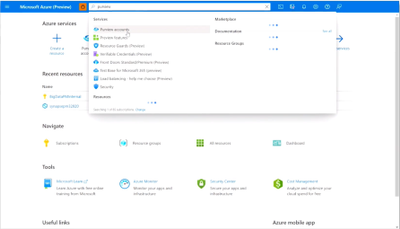
After you create an Azure account, sign into the Azure portal and search for Purview accounts.
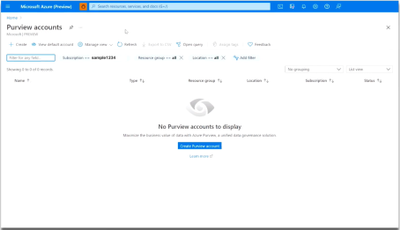
Then select Create to start an Azure Purview account. Note that you can add only one Azure Purview account at a time.
In the Basics tab, select an existing Resource group or create a new one.
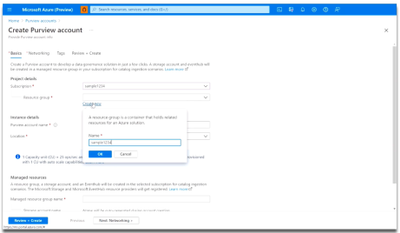
Now, enter a name for your Azure Purview account. Note that spaces and symbols are not allowed.
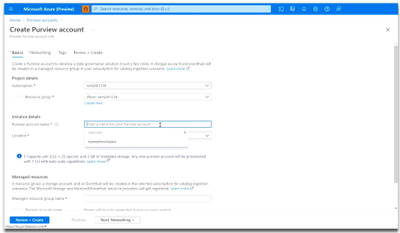
Next, choose your Location.
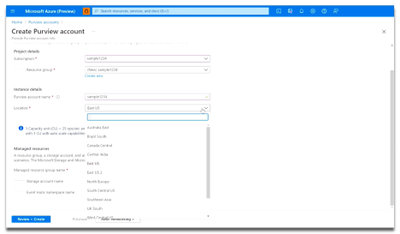
Finally, select the Review + Create button, then the Create button. Your Azure Purview account will be ready in a few minutes!
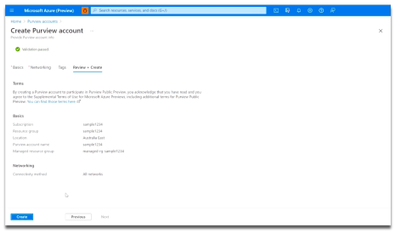
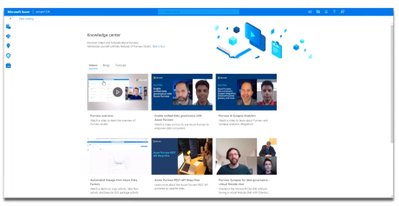
Once you’ve launched an Azure Purview account, be sure to first visit the Knowledge center in the Azure Purview Studio.
The Knowledge center can be accessed via the home page.
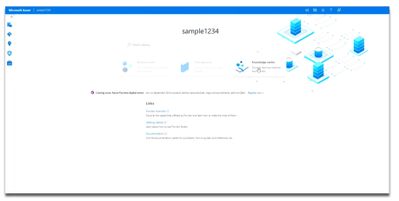
Here, you can watch videos to learn more about the capabilities of Azure Purview, read blog posts about the latest product announcements, and do tutorials to get started with registering and scanning new data sources. Learn how to set up a business glossary and take a tour of the Azure Purview Studio to familiarize yourself with key features.
Try Azure Purview today
- Sign up for an Azure free account and receive $200 of credit to try Azure Purview.
- Create an Azure Purview account in minutes to access data governance capabilities.
- Read quickstart documentation on how to create an Azure Purview account.
Brought to you by Dr. Ware, Microsoft Office 365 Silver Partner, Charleston SC.


Recent Comments