This article is contributed. See the original author and article here.
This blog post shows you how to use Helm chart to run a WordPress application on Azure Kubernetes services(AKS) and Azure Database for MySQL. We will be using Bitnami WordPress helm chart which is the easiest way to get started with this applications on Kubernetes in Azure.
Prerequisites
To complete this process, you need:
- An Azure subscription. If you don’t have an Azure subscription, you can create a free account.
- Install Azure CLI.
- Install and configure Docker on a Mac, Windows, or Linux system.
- Install Helm v3.
Create a Resource group
Create a resource group in the East US Azure region for your Kubernetes cluster and your Azure Database for MySQL resources by running the following command:
az group create --name myresourcegroup --location eastus
Create an Azure Kubernetes Service (AKS) cluster
Create an AKS cluster; the below command creates an AKS cluster named myaks in the East US Azure region.
az aks create -g myresourcegroup -n myaks --location eastus --generate-ssh-keys
Connect to your AKS cluster
To connect to the Kubernetes cluster from your local computer, use the Kubernetes command-line client, known as kubectl. If you use the Azure Cloud Shell, kubectl is already installed. You can also install kubectl locally using the command az aks install-cli.
Note: Make sure you set the PATH environment variables to include path to kubectl on your local environment.
To configure kubectl to connect to your Kubernetes cluster, use the az aks get-credentials command.
az aks get-credentials --resource-group myresourcegroup --name myaks
Create a MySQL database with Azure Database for MySQL
Create a MySQL server with MySQL version 8.0 in your resource group and provide a server admin login and a strong password.
az mysql server create --resource-group myresourcegroup --name mydemoserver --location eastus --admin-user myadmin --admin-password <server_admin_password> --sku-name GP_Gen5_2 --version 8.0 --tags 'AppProfile=WordPress'
Now we create the database by running the following command:
az mysql db create --resource-group myresourcegroup --server-name mydemoserver --name wpdatabase
To allow your AKS cluster to connect to the MySQL server, you will need to create a firewall rule to allow all Azure-internal IP addresses to access your Server. If your AKS cluster and MySQL server are created securely in a virtual network , then you can skip this this step. For simplicity, we are not using virtual networks in this example.
az mysql server firewall-rule create --resource-group myresourcegroup --server-name mydemoserver –-name allowazure --start-ip-address 0.0.0.0 --end-ip-address 0.0.0.0
Create a firewall rule to connect to your server from your local environment. You can find your IP address using https://whatismyipaddress.com/ if you don’t know how to find the IP address.
az mysql server firewall-rule create --resource-group myresourcegroup --server-name mydemoserver –-name allowmyIP --start-ip-address <YOUR IP ADDRESS> --end-ip-address <YOUR IP ADDRESS>
Installing WordPress
For this tutorial, we are using an existing Helm Chart for WordPress built by Bitnami. This Bitnami helm chart uses local MariaDB as the database and we need to override these values to use the app with Azure Database for MySQL. You can override the values you want to modify with a custom values.yaml file.
Create a new directory for your project settings in your local environment.
mkdir myblog
cd myblog
Next, create a file named values.yaml using any text editor of your choice. This file will be used to set up a few parameters that will define how WordPress connects to the database and some additional WordPress settings like sitename and your site administrator’s information.
Copy the values.yaml file below. Please update the database information with your MySQL database and blog Information below. Do not forget to disable MariaDB as shown in the final section.
values.yaml
## Blog Info
wordpressUsername: wpadmin
wordpressPassword: password
wordpressEmail: sunny@example.com
wordpressFirstName: Sunny
wordpressLastName:
wordpressBlogName: Sunny’s Blog!

## Database Settings
externalDatabase:
  host: mydemoserver.mysql.database.azure.com
  user: myadmin
  password: your-server-admin-password
  database: wpdatabase

## Disabling MariaDB
mariadb:
  enabled: false
Now let’s execute helm to install WordPress. The following command tells helm to add the Bitnami Helm Chart repository so you can access all of their helm charts.
helm repo add bitnami https://charts.bitnami.com/bitnami
Once we have access to the Bitnami repository, use helm to install the WordPress chart under the name myblog, using values.yaml as configuration file:
helm install --name myblog -f values.yaml stable/wordpress
The output looks like this
NAME: myblog
LAST DEPLOYED: Sun Jul 19 22:57:24 2020
NAMESPACE: default
STATUS: deployed
REVISION: 1
TEST SUITE: None

NOTES:
** Please be patient while the chart is being deployed **
To access your WordPress site from outside the cluster follow the steps below:

Get the WordPress URL by running these commands:
NOTE: It may take a few minutes for the LoadBalancer IP to be available.
Watch the status with: 'kubectl get svc --namespace default -w myblog-wordpress'
export SERVICE_IP=$(kubectl get svc --namespace default myblog-wordpress --template "{{ range (index .status.loadBalancer.ingress 0) }}{{.}}{{ end }}")
   echo "WordPress URL: http://$SERVICE_IP/"
   echo "WordPress Admin URL: http://$SERVICE_IP/admin"
 Open a browser and access WordPress using the obtained URL.

Login with the following credentials below to see your blog:
  echo Username: wpadmin
  echo Password: $(kubectl get secret --namespace default myblog-wordpress -o jsonpath="{.data.wordpress-password}" | base64 --decode)
Note: If you have a custom Helm chart for your WordPress app , you can use it in place of bitnami/wordpress.
After the installation is complete, a service named myblog-wordpress is created within your Kubernetes cluster. This may take a few minutes before the container is ready and the External-IP information is available. To check the status of this service and retrieve its external IP address, run:
kubectl get services
The output should show you the External IP
NAME                   TYPE           CLUSTER-IP     EXTERNAL-IP        PORT(S)       AGE
kubernetes             ClusterIP      10.0.0.1            <none>              443/TCP            19m
myblog-wordpress   LoadBalancer   <IPAddress> <IPAddress>  <ports>  110s
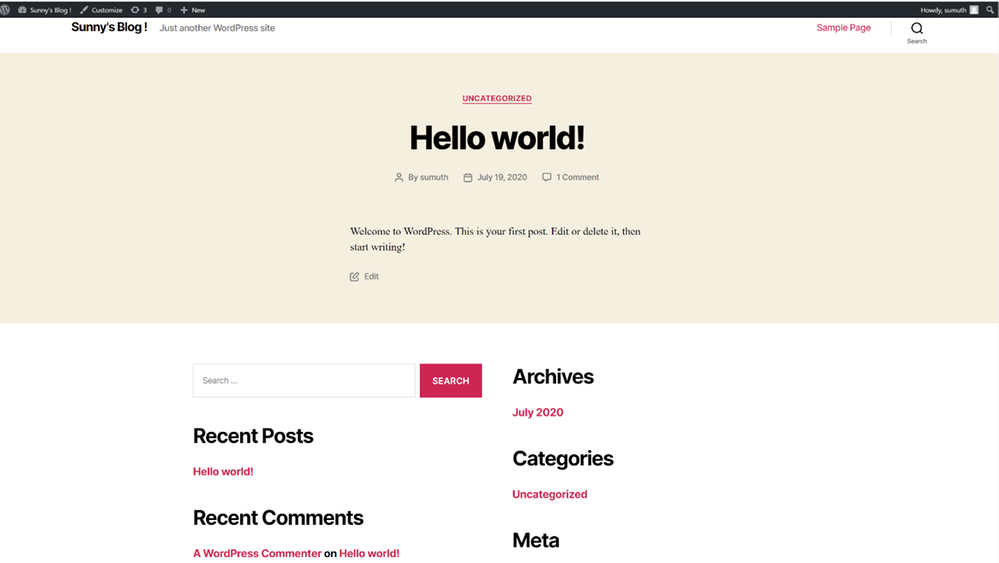
Make a note of the external IP for your app from the above output. Now you can browse your WordPress app on the browser using that external IP address.
The first time your browse the app it can take a while and may timeout as it is completing the WordPress installation. The deployment can take a few minutes to refresh again after 5 mins to see the site up and running

This was your first WordPress app deployment on Azure using AKS and Azure Database for MySQL. Happy Helming with Azure Kubernetes Services and Azure Database for MySQL !
Feedback
We are constantly looking at ways to improve our service and prioritize highly requested items. If you have any feedback, you can use UserVoice .
Questions
If our documentation fails to provide clarity, we encourage customers to contact us with questions.
Support
For support with an existing Azure Database for MySQL server, use the Azure portal to open a support request with us.
Brought to you by Dr. Ware, Microsoft Office 365 Silver Partner, Charleston SC.

Recent Comments