This article is contributed. See the original author and article here.
I was helping a friend earlier today with their Azure Synapse Studio CI / CD integration. They had followed our Docs page Source control in Azure Synapse Studio and then they shared errors they were seeing in their release pipeline during deployment.
We took a step back to discuss what they wanted to do, and it looked like they were too far in the weeds for ADO. So I walked through creating an Azure DevOps Project, connecting Git to my Azure Synapse Studio, and then creating a branch and pushing some changes. We’ll push changes in a follow up blog post. Today we cover the basics.
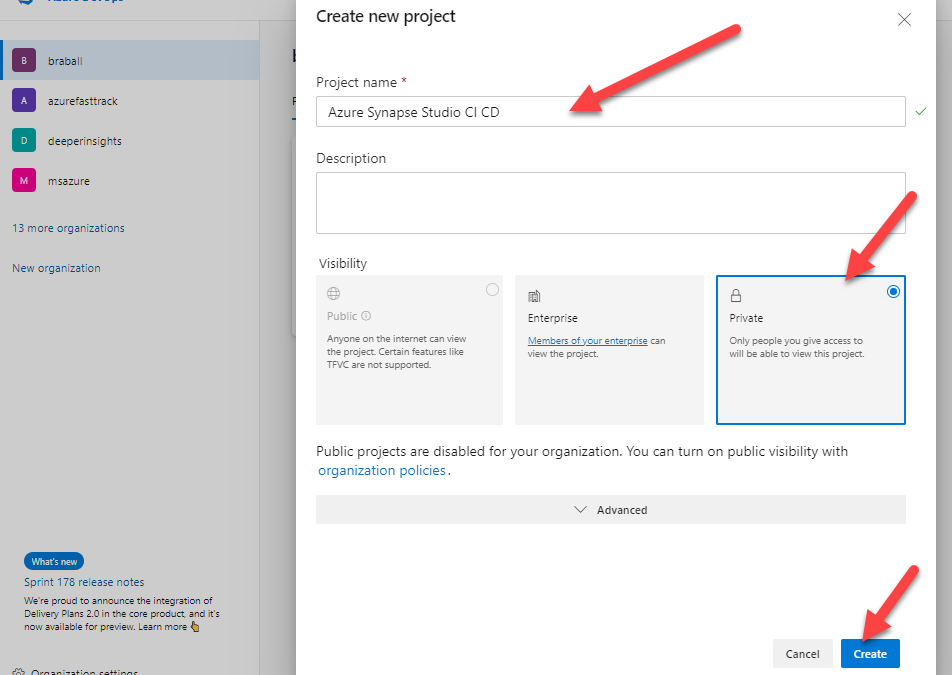
First let’s navigate to Projects – Home (azure.com). We will create a New Project and title it Azure Synapse Studio CI CD. I’m going to mark this repo private because it’s just for us.

Now I will click on the Repos menu.

Next I will go to the bottom of the page. I want to select Initialize main branch with a README or gitignore. I will click Initialize.

At this point I have a Repo that is initialized.

Now we can connect this to our Azure Synapse Studio. Let us travel over to https://web.azuresynapse.net/ and log into our Azure Synapse Studio. After we login we need to navigate to the Manage screen. If you are not on the Git configuration page, navigate there.

Next we want to click on Set up code repository. You can select Azure DevOps Git or GitHub. For this blog we will be selecting Azure DevOps Git. Then select your organizations Azure Active Directory tenant. *a quick side note, make sure the AAD account you are using to connect to Azure DevOps is the same account that has permissions to your Azure Synapse Studio workspace.
Then click Continue.

Select the Azure DevOps Account that our organization is using. The Project and Git repository name are the same, and are the Project Name we created earlier.
My collaboration branch is main, my Publish branch is workspace_publish, my Root folder is the default, I have checked import existing resources to repository.
As this is my initial commit I want to commit this to my main branch.
Then I click Apply.
*Another note: your company will have a DevOps environment, and specific rules on how you want things to connect. If I’m doing anything that makes you scream from a developer philosophy, please find me on Twitter under BuckWoody_MSFT …. also don’t tell Buck I did this …. I’m not Buck.
At this point in time your Azure DevOps Git Rep should be connected.


If we go to our Azure DevOps Repo we should see that it is populated with objects from our Azure Synapse Studio.

Back in Azure Synapse Studio, we can navigate to the develop pane, create a new branch to ensure any changes I make will not be automatically deployed against my main version of Azure Synapse Studio.

This is what we will tackle next time.
Brought to you by Dr. Ware, Microsoft Office 365 Silver Partner, Charleston SC.

Recent Comments