This article is contributed. See the original author and article here.
We are excited to share that Azure Defender for Key Vault has been generally available since Microsoft Ignite on September 22nd, 2020! We have prepared this blog to go over the following topics:
- Introduction to Azure Defender for Key Vault
- How to enable Azure Defender for Key Vault
- How to find alerts of Azure Defender for Key Vault
- How to respond to alerts
- How to provide feedback on alerts
Azure Defender for Key Vault
Azure Key Vault is a cloud service for securely storing and accessing secure data like secrets, keys, certificates, and passwords. By compromising this data, attackers may be able to gain unauthorized access or perform lateral movement to breach other resources in the customers’ environment.
Azure Defender for Key Vault is an Azure-native threat protection service, which detects unusual and potentially harmful access to Key Vault accounts. It provides an additional layer of security intelligence for the keys, secrets and certificates stored in the Azure Key Vault by alerting you to suspicious or malicious access. This layer of security allows you to address threats without being a security expert, and without the need to manage third-party security monitoring systems.
When anomalous activities occur, Azure Defender shows alerts and optionally sends them via email to relevant members of your organization. These alerts include the details of suspicious activity and recommendations on how to investigate and remediate the threats.
More information about Azure defender for Key Vault is available here.
How to enable Azure Defender for Key Vault
Azure Defender for Key Vault can be enabled from Security Center, or from Key Vault. The pricing information is available here.
Method 1: Enable from Security Center
- Go to the Security Center from Azure Portal.
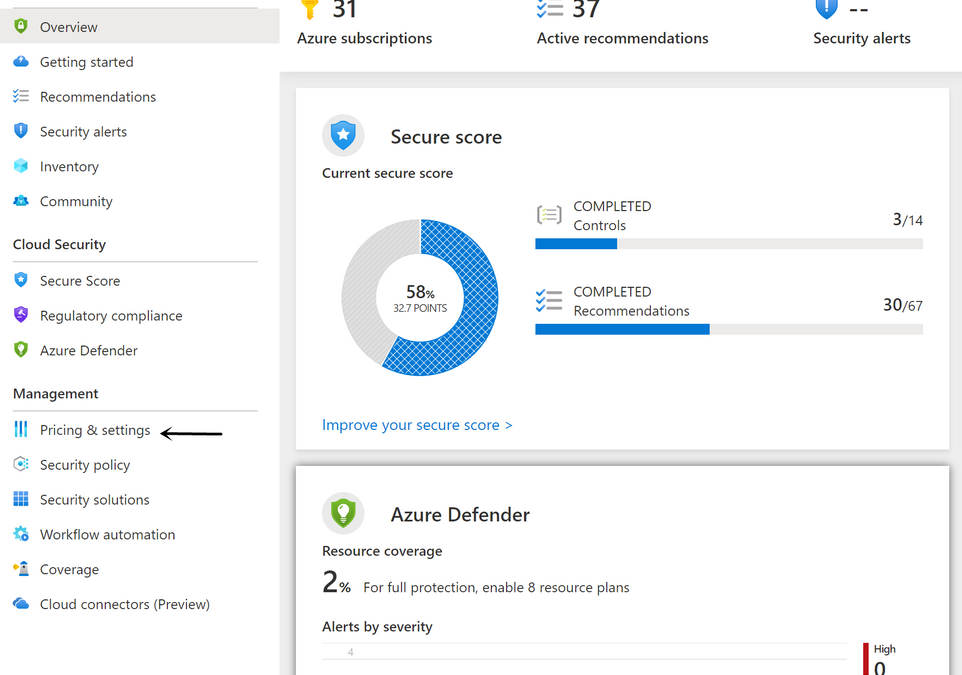
- From Security Center’s main menu, select Pricing & settings under Management.
- Select the subscription that you want to enable Azure Defender for Key Vault.
- Select Azure Defender to upgrade.
- Switch Azure Defender plan for Key Vault to On.
- Select Save.


Method 2: Enable from Key Vault
- Go to the target Key Vault from Azure Portal.
- From Key Vault’s main menu, select Security under Settings.
- Under Security alerts, select Try it free for the first 30 days.
- Select the subscription that you want to enable Azure Defender for Key Vault.
- Select Upgrade.


How to find alerts of Azure Defender for Key Vault
The Azure Defender for Key Vault alerts show up on Key Vault and Security Center.
- View alerts on the Key Vault’s Security page
- Go to the target Key Vault from Azure Portal.
- From Key Vault’s main menu, select Security under Settings.
- View alerts in the Security Center’s Security alerts page.
- Go to the Security Center from Azure Portal.
- From Security Center’s main menu, select Security alerts under General.
- Details on the alert page.


Here is the list of alerts that you might get from the Azure Defender for Key Vault.
How to respond to alerts
Azure Defender for Key Vault is designed to help identify suspicious activity caused by stolen credentials. Do not dismiss the alert simply because you recognize the user or application. Contact the owner of the application or the user and verify the activity was legitimate.
When you get an alert from Azure Defender for Key Vault, we recommend following this document.
How to provide feedback on alerts
Please provide your feedback for each alert on the alert page, which provides valuable input for the algorithm developers in the team to improve the quality of the alerts in the future. This feedback will not directly affect the results of the algorithm and will only be used to make long-term improvements.

- Select the answer to the question Was this useful?.
- Choose the Reason which best matches your scenario.
- Provide Additional feedback to help the service team understand more about the reason why it is useful or not.
- Select Microsoft may email me about my feedback to allow the service team to follow up by email.
- Select Submit.
You can create alert suppression rules to suppress unwanted security alerts from Azure Defender. Learn more in Suppress alerts from Azure Defender.
Brought to you by Dr. Ware, Microsoft Office 365 Silver Partner, Charleston SC.

Recent Comments