by Contributed | Nov 3, 2020 | Technology
This article is contributed. See the original author and article here.
A quick post about the error and fix. The customer tried to create a trigger activation and it fails.
Error:
Trigger activation failed for Trigger 1.
Failed to subscribe to storage events for event trigger: Trigger 1
The customer had the correct permissions he was the owner of the workspace as the matter of fact he was admin.
He also had a storage blob data contributor. So it seems everything was in place. Even though I checked the logs regards this failure and I saw there was a permission error.
Here it goes why:
https://docs.microsoft.com/en-us/azure/data-factory/how-to-create-event-trigger
“The integration described in this article depends on Azure Event Grid. Make sure that your subscription is registered with the Event Grid resource provider. For more info, see Resource providers and types. You must be able to do the Microsoft.EventGrid/eventSubscriptions/* action. This action is part of the EventGrid EventSubscription Contributor built-in role.”
Options are:
- Owner permission on the storage
- Eventgrid RBAC subscription contributor and reader on the Subscription
That is it!
Liliam UK Engineer
by Contributed | Nov 3, 2020 | Technology
This article is contributed. See the original author and article here.

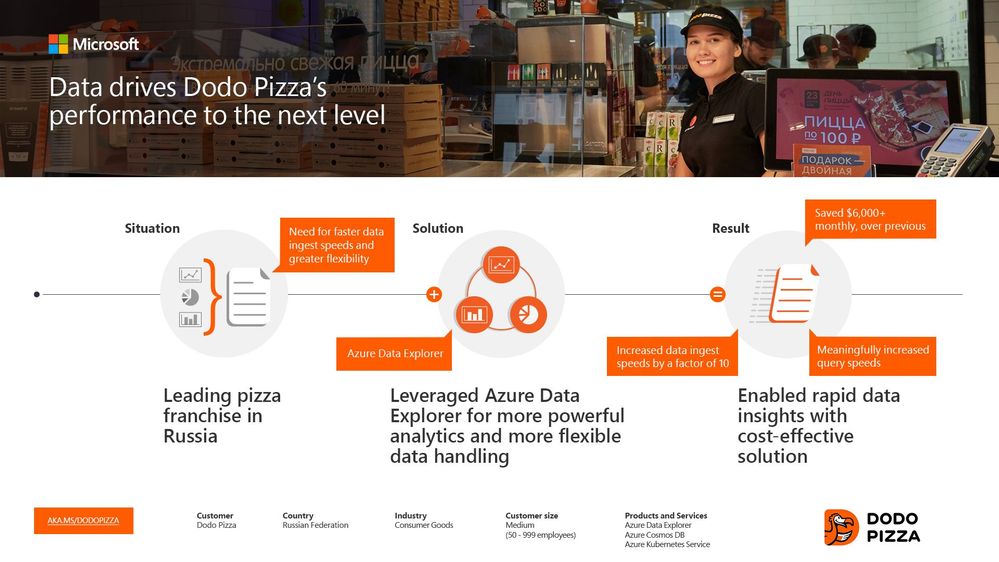
Founded in 2011, Russian pizza franchise Dodo Pizza is one of Europe’s fastest-growing restaurant chains. “We are digitally transforming global pizza delivery,” tells Gleb Lesnikov, Cloud Architect at Dodo Pizza. “From our 600-plus locations, we generate a lot of data every single day. And we need to be able to interactively query that data, to explore it and gather insights. That’s what Azure Data Explorer has allowed us to do—for any kind of data, unstructured or structured. We’re ingesting 1TB per day now. We also spend less time operating the cluster because it’s automatic. It’s a night and day difference.”
Read more
by Contributed | Nov 3, 2020 | Technology
This article is contributed. See the original author and article here.
Understanding your subscription’s VM limits and regional VM capacity is important for 3 main scenarios:
- You are planning to set up a large number of VMs across your labs.
- You are planning to use GPUs.
- You need to peer your lab account to a virtual network (VNet); for example, to access a licensing server.
If one of the above scenarios applies to you, we recommend that you open a Support ticket to pre-request capacity. By pre-requesting capacity, you can:
- Ensure that your Azure subscription’s capacity limit for Azure Lab Services allows for the number of VMs and the VM size that you plan to use in your labs. All Azure subscriptions have an initial capacity limit that restricts how many VMs you can create inside your labs before you need to request for a limit increase. Read the following article to learn more: Capacity limits in Azure Lab Services.
- Create your lab account within a region that has sufficient VM capacity based on the number of VMs and the VM size you plan to use in your labs. This is especially important if you need to peer your lab account to a VNet because both your lab account and VNet must be located in the same region. It’s important to pick a region that has sufficient capacity before you set this up.
In this post, we’ll look closer at the process for ensuring that there is sufficient regional capacity for your labs.
Problem
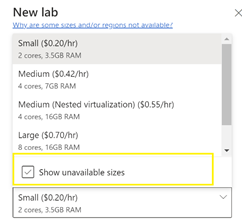
When your lab account is peered to a VNet, the location of your lab account and VNet determines the region where your labs are created. In the lab creation wizard, only VM sizes that have capacity in this region are shown in the list of available sizes. You may notice that you have the option to show unavailable sizes, but you are prevented from choosing these.

You have more flexibility to find available capacity when your lab account is not peered to a VNet. In this case, Azure Lab Services automatically looks for available VM capacity across all regions in the same geography as the lab account. However, you still may not be able to choose a VM size if none of the regions have available capacity. For example, currently in Canada, GPU sizes (e.g. NV series) are not offered in any regions. As a result, you must create your lab account in a geography that does have GPUs available.
You also can configure a setting called enable location selection (this setting is only available when your lab account is not peered to a VNet). This setting allows lab creators to choose a different geography from the lab account when they create a lab. Enabling this option gives lab creators the greatest flexibility to find a region that has available capacity for a VM size.
Regardless if you are using VNet peering or not, you can still run into unexpected capacity issues later. For example, when creating additional labs or increasing your lab’s VM pool size.
Solution
We recommend the following process to ensure that you pick a location that has sufficient capacity before you create your lab account and peer to a VNet:
- Refer to the below link which shows VM sizes that are supported by each region.
- Refer to the following link that shows the VM series that correlates with each VM size:
- Open a support ticket to request and reserve VM capacity for your labs. When you log a support ticket, please include the following information:
- Subscription id
- LocationRegion
- Estimated number of labs
- VM size for each lab
- Estimated number of VM in each lab
- Brief class descriptions for each lab
If you have any questions on this process, please reach out to us on the forums.
Additional Resources
Refer to the following help topics that provide more details on how regionslocations are configured for a lab:
Thanks,
Your Azure Lab Services Team
by Contributed | Nov 3, 2020 | Technology
This article is contributed. See the original author and article here.

In this installment of the weekly discussion revolving around the latest news and topics on Microsoft 365, hosts – Vesa Juvonen (Microsoft) | @vesajuvonen, Waldek Mastykarz (Microsoft) | @waldekm, are joined by Darrel Miller (Microsoft) | @darrel_miller, Developer, Evangelist, and API Architect on the Microsoft Graph (Developer Experience) team. The team that creates developer tooling – Graph Explorer, Graph SDK, Documentation, and the API Review Board that helps other Microsoft 365 teams (approx. 50) expose (with consistency) their APIs in Microsoft Graph.
Discussion on challenges getting developers to use the APIs, the _v2 property, evolution of the SDK, Microsoft Identity Web.MicrosoftGraph, auto-generated code, API surface quality control, and the Graph “no breaking change policy.” Microsoft Graph’s fundamental mission is making life easier for developers by rigorously coordinating consistency, non-duplication, and usage of the API surface by both Microsoft and partner developers. Coverage on 17 recently released articles and videos from Microsoft and the PnP Community are highlighted as well.
This episode was recorded on Monday, November 2, 2020.
Did we miss your article? Please use #PnPWeekly hashtag in the Twitter for letting us know the content which you have created.
As always, if you need help on an issue, want to share a discovery, or just want to say: “Job well done”, please reach out to Vesa, to Waldek or to your PnP Community.
Sharing is caring!
by Contributed | Nov 2, 2020 | Technology
This article is contributed. See the original author and article here.


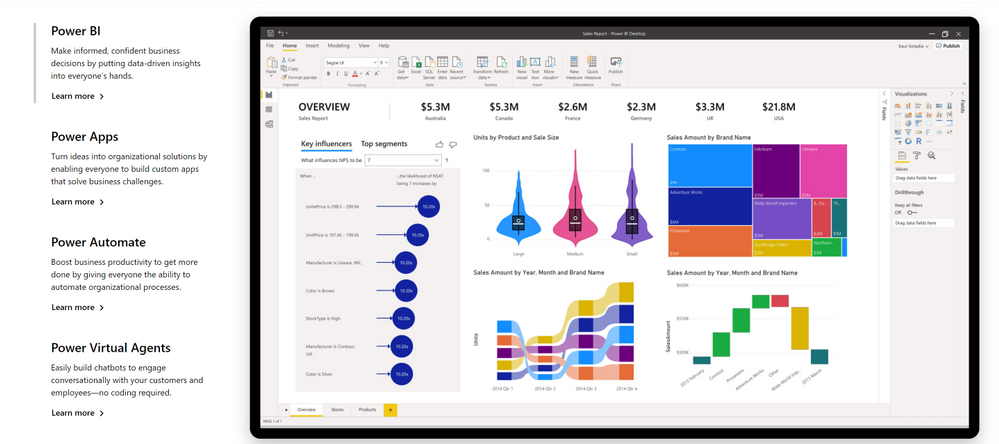
You might have an idea for an application using AI and not have anyone to build it. You might be a programmer and want to try out your ideas and Azure Custom Vision before you start writing code. No matter what your coding skills are, if you want to prototype an application with AI, Power Platform and it’s AI Builder feature is a fast and easy option.