This article is contributed. See the original author and article here.
If you are new to creating a Canvas App and you’ve just added a Form and when you try to run and test the same in the browser itself, you don’t see it.
So let’s say you’ve put a form like this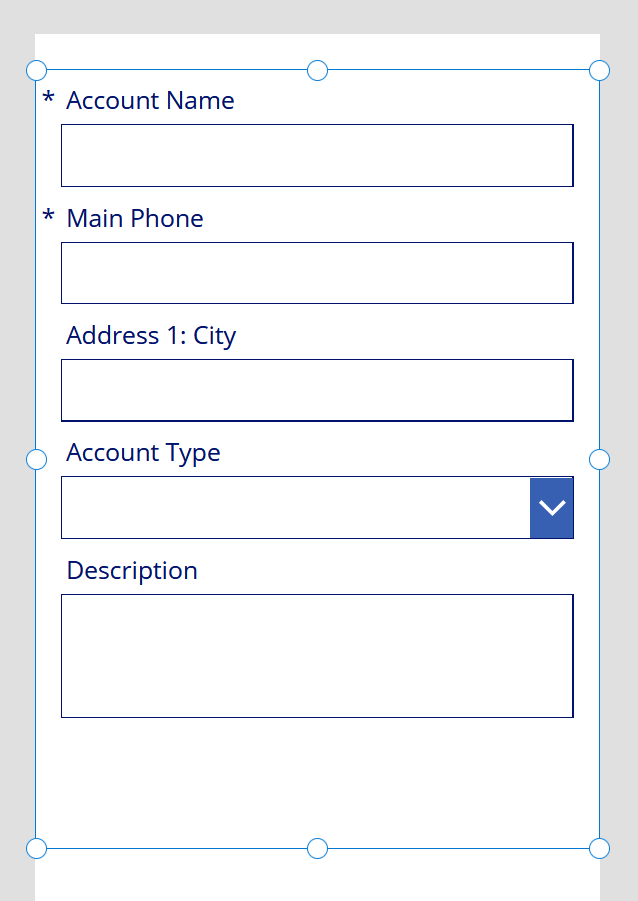
And all you see is this – 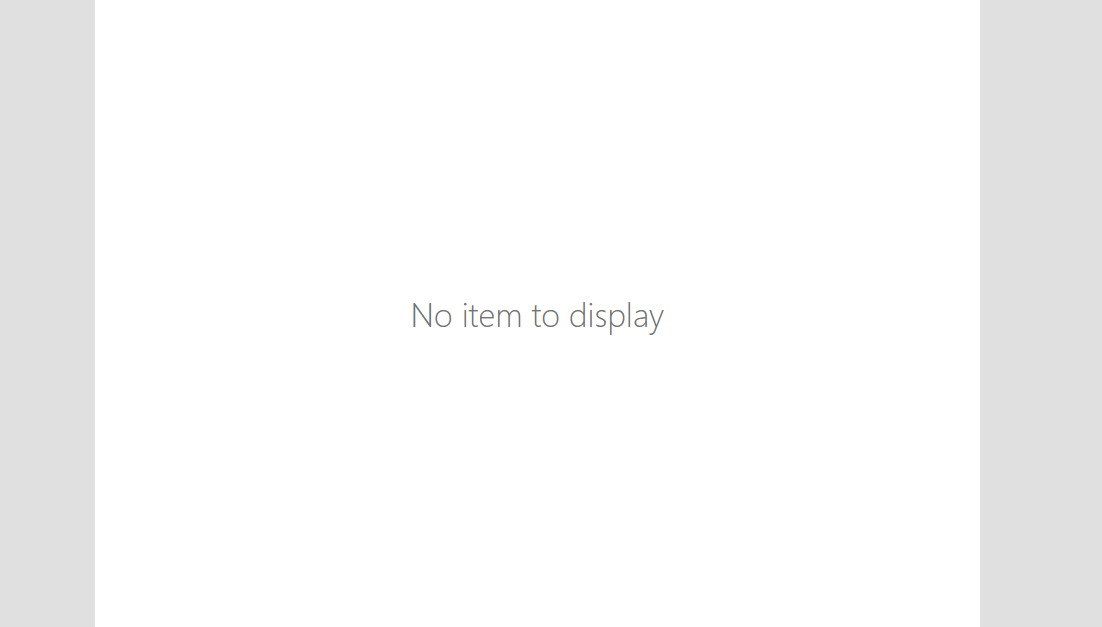
So this happens based on the Default Mode and whether the context is passed to the form depending on the type or not.
Default Mode
There are 3 Default Modes for a form and it’s critical which one should be used when – 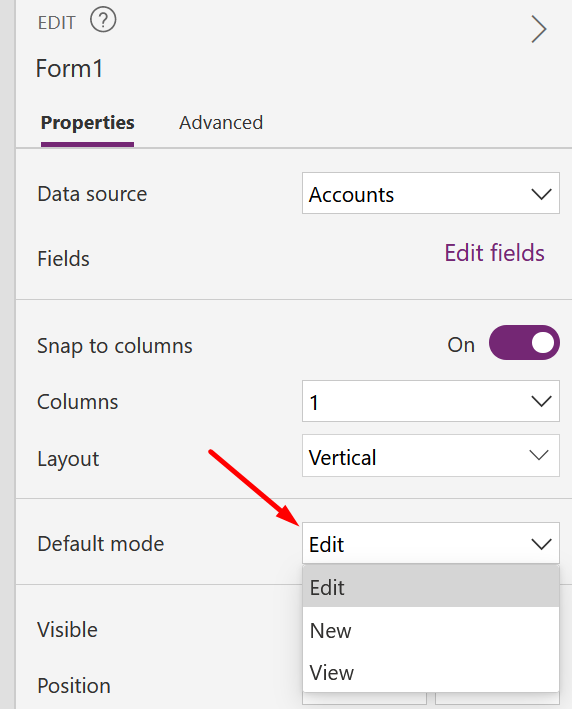
1. Edit – To be used if you are creating a new record. While using this mode, make sure the Item (from a data source is passed to the Form itself. Else, you’ll see the same error message as above and won’t see a blank form in that case.)
The Item property should be pointed to pick .Selected i.e. typically, <GalleryName>.Selected.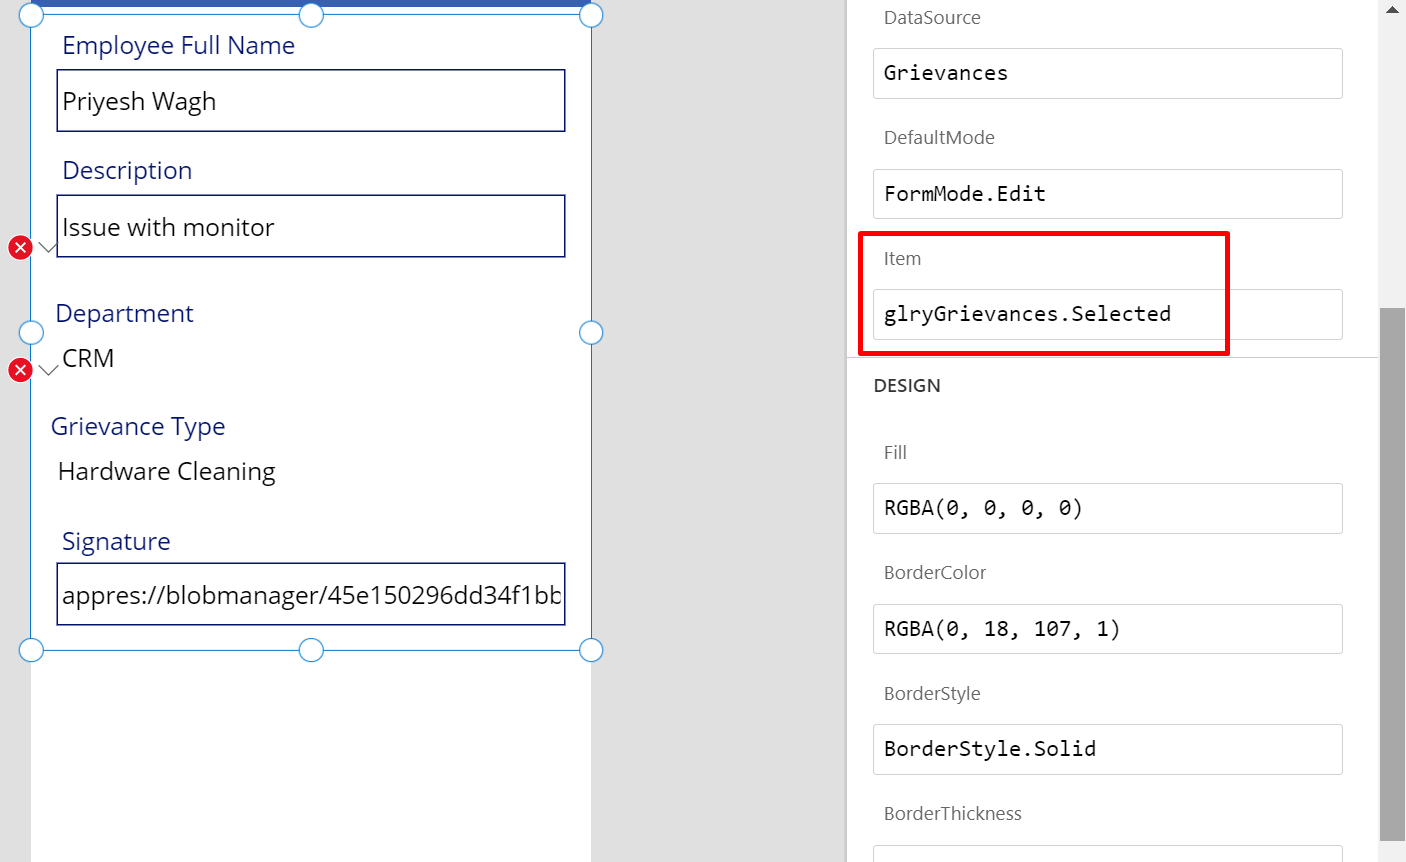
Context of a record i.e. a Row should be passed on to this form for Edit mode i.e. an existing row to be passed on to this Form from the preceding Gallery/Table control (or any data source based on your implementation). For example – The context I send to the form looks like this.
The last parameter i.e. <GalleryName>.Selected is placed on the select button so that once clicked, it’ll send the record context over to the form so that the form is displaying the selected record (which is picked from Item property in the above screenshot)
2. New – New should be used if the Form you’ve inserted isn’t coming as a result of populating a selected record. But you will enter new values and Submit it the first time.
Once New is selected, the form will correctly render for you when you test or run the App once correct Mode is selected (i.e. you don’t intend to pass any context to the Form)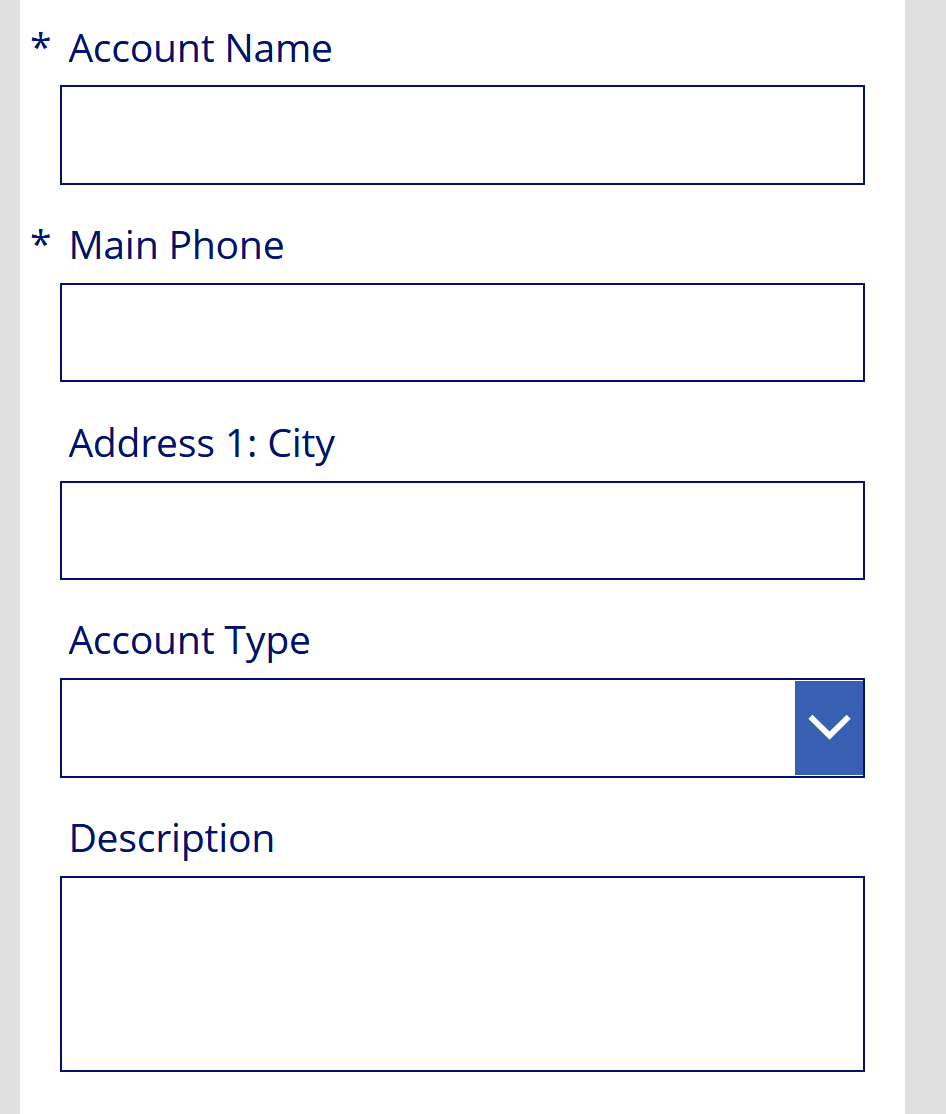
3. View – In this view, fields will not be visible and instead the data will be a result of the selected item from the List/Gallery view it is coming from i.e. a Data Row which will populate this form. This will be a Read-Only view.
Another form example where View is selected, fields won’t show up but this form would need Context to be passed to it just like in the New mode.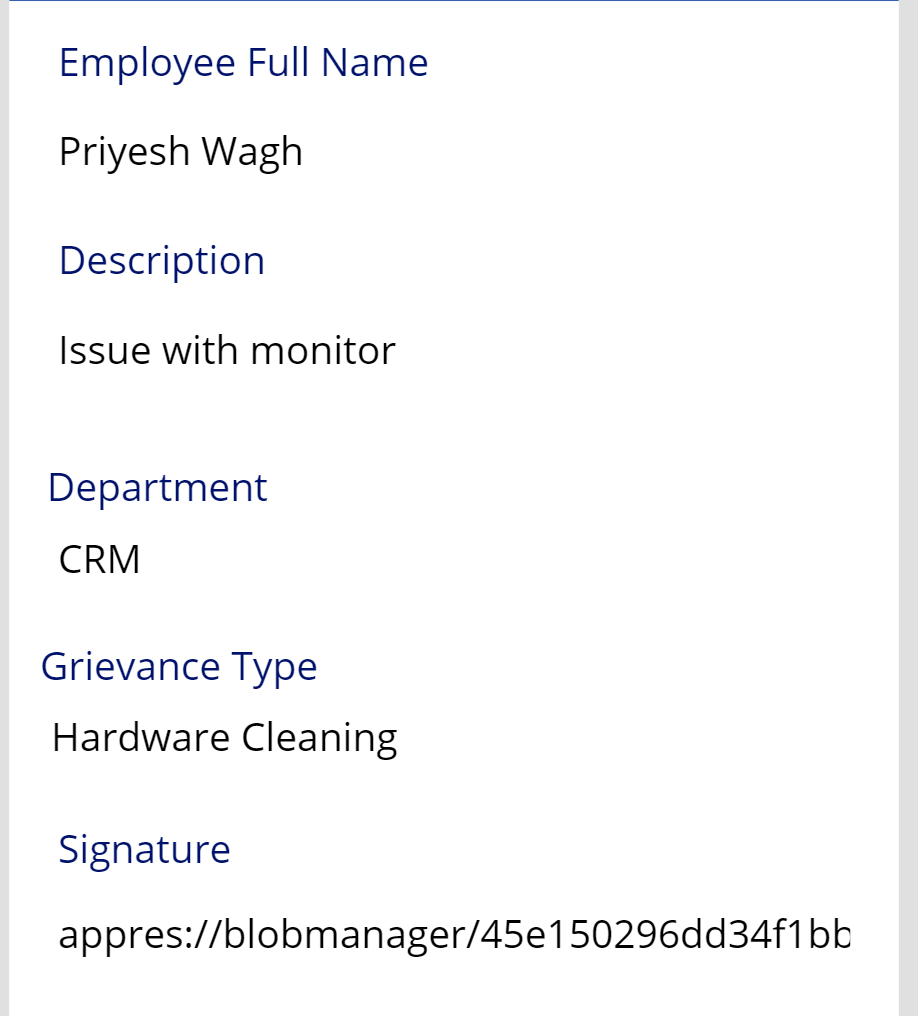
Hope this quick tip was useful.
Here are some more Dynamics 365 related posts you might want to check
- Find deprecated JS code used in your Dynamics 365 environment | Dynamics 365 v9 JS Validator tool | XrmToolBox
- Make On-Demand Flow to show up in Dynamics 365 | Power Automate
- Track and Set Regarding are disabled for Appointments in Dynamics 365 App For Outlook message | Demystified
- Cancelled Bookings Imported in Time Entries in Dynamics 365 PSA issue | [Quick Tip]
- Remove ‘This Email has been blocked due to potentially harmful content.’ message in Dynamics 365 Emails | OrgDbSettings utility
- Get GUID of the current View in Dynamics 365 CRM JS from ribbon button | Ribbon Workbench
- Get Dynamics 365 field metadata in a Canvas App using DataSourceInfo function | Common Data Service
- Dynamics 365 App For Outlook missing on SiteMap in CRM? Use shortcut link [Quick Tip]
Thank you!!
Brought to you by Dr. Ware, Microsoft Office 365 Silver Partner, Charleston SC.


Recent Comments