This article is contributed. See the original author and article here.
MCAS DLP Walk-Through
March 2021
Hi everyone! Welcome to the fourth blog of my MCAS Data Protection Blog Series! If this is your first time seeing this blog, check out my landing page for some more information about me and links to previous blogs!
This month, I’ll be focusing on the new capability of extending Microsoft data loss prevention to MCAS (announced in September here) in the Compliance Center.
As my colleague Mas Libman mentioned, since MCAS provides compliance visibility and control over both native and third-party apps, this new extension of capability pushes the integration for Microsoft DLP policy-based content inspection across connected applications such as Dropbox, Box, Google Drive, WebEx, One Drive, SharePoint, and others. This goal is to help users remain continuously compliant when using both native and third-party cloud apps. It also helps prevent sensitive content from accidentally or inappropriately being shared. DLP in MCAS now uses the same DLP policy framework common across all Microsoft DLP offerings, to provide a familiar, consistent, and seamless compliance experience.
After this announcement and the rollout of the capability, my team and I have received several questions regarding deployment. For this blog, I’ll be walking through how this looks for MCAS users.
Before we begin, please refer to the table below with some high-level details regarding the portals necessary for the following customer scenario. Disclaimer: the following scenario is based on a use case submitted by a commercial customer.
Name | Portal | Colloquial Names | What can you access? (Non-Exhaustive List) |
Microsoft 365 Compliance Center | Compliance.microsoft.com
GCC-High: compliance.microsoft.us
DOD: compliance.apps.mil | Compliance Center, Compliance Portal |
|
Microsoft Cloud App Security | Portal.cloudappsecurity.com
GCC-High: portal.cloudappsecurity.us | MCAS, Microsoft CAS, Microsoft CASB |
|
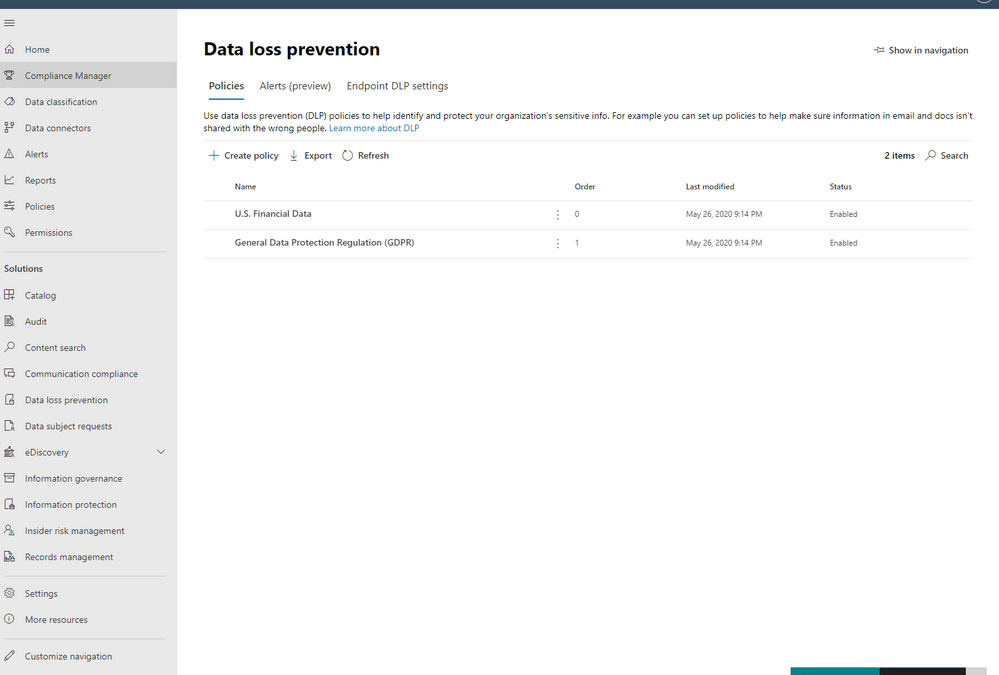
Alright, so for our first step, we are going to jump over to the Compliance Portal. Let’s scroll down to Solution and select Data Loss Prevention. From there, please select Policies and click Create Policy.

For the purposes of this effort, we’re going to focus on PCI DSS and select this under Templates from the Financial Category.

Now, enter a name that’ll help you differentiate this policy from others, I’m naming it “Sarahzin: MCAS Credit Card DLP” to make it easier to identify.

Next, let’s choose the location of Microsoft Cloud App Security (only) and click Choose whichever Instances you’d like to use. For my scenario, I selected Box, Salesforce, Dropbox, and ServiceNow.


NOTE: To have your instances pop up here, it is required that your apps already be connected in MCAS. Visit our documentation here to get more guidance on connected apps in MCAS.
Afterwards, move on to the next step and click Create or customize advanced DLP rules.

Next, you can either create a rule or use the prepopulated Low volume of content detected PCI Data Security Standard or High volume of content detected PCI Data Security Standard rule sets. We’re going to create a custom rule and delete the prefilled rule sets (not a requirement).
Please add a condition with the sensitive information type of Credit Card Number. Then, click on Add an action and select Restrict Third Party Apps.

Please select Restrict Third Party Apps at the top, and choose “Send policy-match digest to file owner” for the apps that have this option available. You can choose any of these actions and these are from the list of governance provided by MCAS.

After saving your configurations, your page should look like the image below.

Next, you have the option to turn this on, run in simulation mode, or keep turned off but saved. We’re turning it on.

So once the policy is set through the Compliance center, after some time, it’ll populate in MCAS as a policy. The naming convention will say “MIP – ” with your name from the Compliance Center. In MCAS, go to policies and filter on File Policies. You’ll see your new policy here.

Note: Policies from the Compliance Center pop up in MCAS but policies from MCAS do not pop up in the Compliance Center (only alerts under the Alerts section on the Compliance Center home page).

When you click into the policy in MCAS, you wont be able to change any of the configurations. It gives you a warning that “This policy is an imported subset rule of Microsoft Information Protection policy. Read-only fields can be edited in the original policy. Go to Microsoft Information Protection policies.”

The filters are pre-filled and your governance actions are selected as well.


You’ll notice that the policy has a couple matches. When you click into the matches, you’ll find the files that triggered the policy.

There you have it! Your policies are working now and triggering any time you have matches.
Please let us know if you have any additional questions or if you’d like to see something else.
——-
Feedback
Let us know if you have any feedback or relevant use cases/requirements for this portion of Cloud App Security by emailing CASFeedback@microsoft.com and mention the core area of concern.
Learn more
For further information on how your organization can benefit from Microsoft Cloud App Security, connect with us at the links below:
Join the conversation on Tech Community. Stay up to date—subscribe to our blog. | Upload a log file from your network firewall or enable logging via Microsoft Defender for Endpoint to discover Shadow IT in your network. |
Learn more—download Top 20 use cases for CASB. | Connect your cloud apps to detect suspicious user activity and exposed sensitive data. |
Search documentation on Microsoft Cloud App Security. | Enable out-of-the-box anomaly detection policies and start detecting cloud threats in your environment. |
Understand your licensing options . | Continue with more advanced use cases across information protection, compliance, and more. |
Follow the Microsoft Cloud App Security Ninja blog and learn about Ninja Training. Go deeper with these interactive guides: · Discover and manage cloud app usage with Microsoft Cloud App Security · Protect and control information with Microsoft Cloud App Security · Detect threats and manage alerts with Microsoft Cloud App Security · Automate alerts management with Microsoft Power Automate and Cloud App Security | |
To experience the benefits of full-featured CASB, sign up for a free trial—Microsoft Cloud App Security.
Follow us on LinkedIn as #CloudAppSecurity. To learn more about Microsoft Security solutions, visit our website. Bookmark the Security blog to keep up with our expert coverage on security matters. Also, follow us at @MSFTSecurity on Twitter, and Microsoft Security on LinkedIn for the latest news and updates on cybersecurity.
Brought to you by Dr. Ware, Microsoft Office 365 Silver Partner, Charleston SC.

Recent Comments