This article is contributed. See the original author and article here.
Azure Defender for IoT is a unified security solution for identifying IoT/OT devices, vulnerabilities, and threats. It enables organizations to secure entire IoT/OT environments, whether there is a need to protect existing IoT/OT devices or build security into new IoT innovations.
Azure Defender for IoT offers agentless network monitoring that can be deployed on physical hardware or virtualized environment and a lightweight micro agent that supports standard IoT operating systems. OT (Operational Technology) is used to monitor Industrial equipment rather than traditional Network IT resources.
Azure Sentinel can be used to integrate with Defender for Security Orchestration, Automation, and Response (SOAR) capabilities enables automated response and prevention using built-in OT-optimized playbooks.
This Blogpost presents two topics to support enterprises and enable a quick start with IoT/OT:
- Onboard an agentless Defender for IoT sensor for PoC/Evaluation purpose.
- Integration of Defender for IoT with Azure Sentinel for unified security management across IoT/OT landscape.
Prerequisites and Requirements
This capture describes the requirements to set up the environment.
- Hardware appliance for the sensor.
The supported hardware for Defender IoT is listed here: Identify required appliances – Azure Defender for IoT | Microsoft Docs
- A network switch that supports traffic monitoring via SPAN port.
- Create or use an existing Azure IoT Hub service. IoT Hub is required to manage IoT devices and security.
- An existing Azure Sentinel deployment for unified security management experience for Defender for IoT alerts.
Install the Defender for IoT Sensor
The installation takes a while and requires several reboots during the installation.
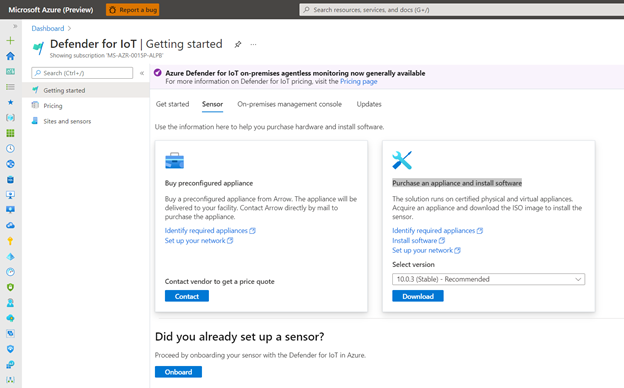
Before you can start the installation, there is a need to download the installation software. The ISO for the installation can be found in Azure Portal > Azure Defender for IoT > Set up a sensor > Purchase an appliance and install software > Download.
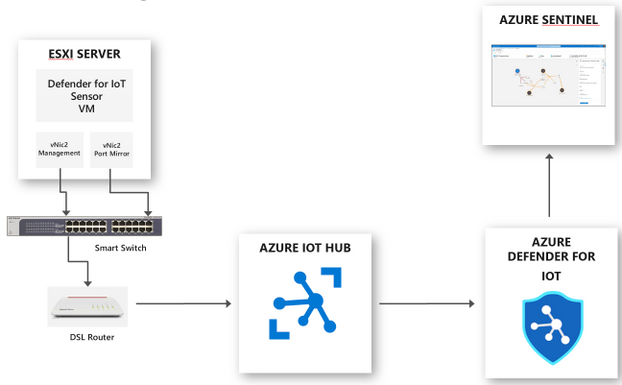
For my lab environment, I decided to use a Vmware ESXI server. I created a guest VM with 4 CPU cores, 8 GB of RAM, 128 GB of hard drive, and 2 virtual network cards for the sensor. One virtual card will be later used for the management interface, and the second one for the SPAN port. I prepared the environment for my lab as follow:
For installing the sensor, I attached the downloaded ISO to the sensor guest VM to kick off the installation.
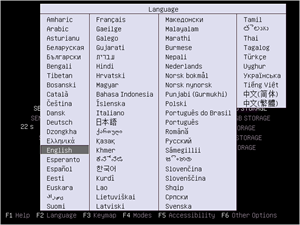
For the initial configuration, select a language.
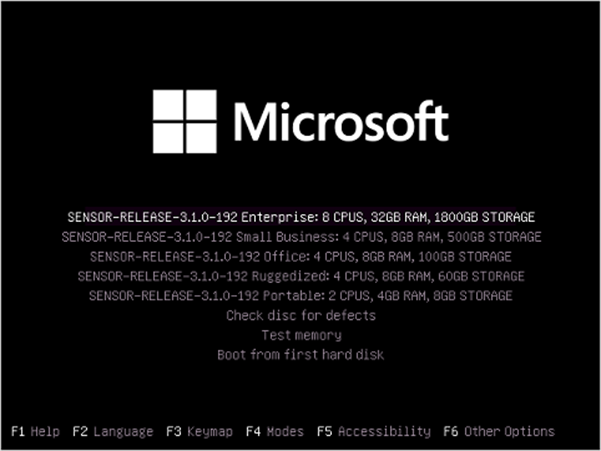
Select SENSOR-RELEASE-version Office.
Configure the architecture and the network properties.
Use eth0 for the management network (interface) and eth1 for the input interface (SPAN port) and click “y” to accept the configuration.
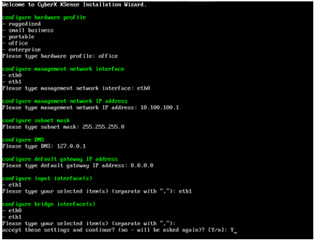
After few minutes, CyberX and support credentials appear. Copy the passwords for later usage.
- Support: The administrative user for user management.
- CyberX: The equivalent of root for accessing the appliance.
Select Enter to continue.
Once the installation is finished, you can access the management console via the configured IP address during the installation.
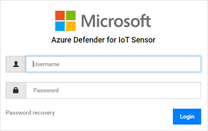
Onboard the agentless Sensor in Event Hub
Once the sensor is installed, now it’s time to prepare the sensor as a cloud-connected sensor. In this mode, the sensor would send the alerts to Event Hub to share them with Azure services such as Azure Sentinel.
For the next step, there a need for an activation file. The Activation files contain the instructions for the management mode of the sensor.
To get the activation file, perform the following steps.
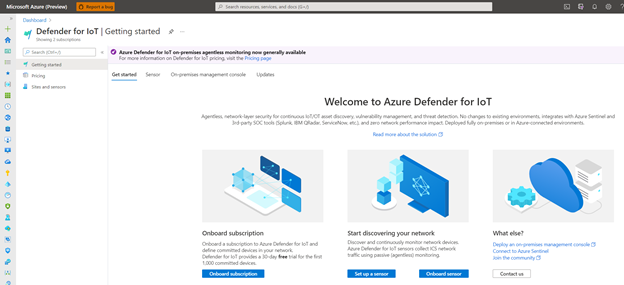
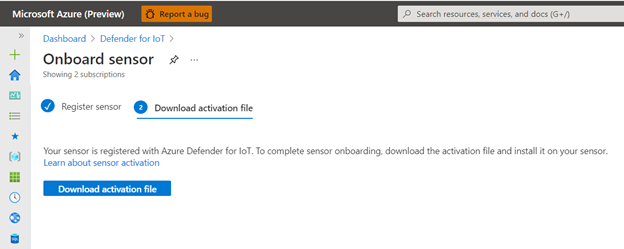
From the Azure Portal, navigate to Defender for IoT > Start discovering your network / Onboard sensor.
Define a name for the sensor, choose the subscription, select On the cloud, select an IoT Hub or create one, use a Display name and click to Register.
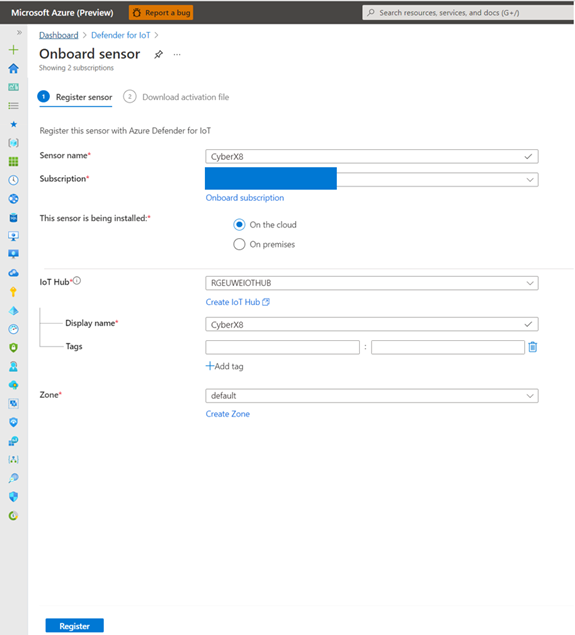
Now the Activation file is generated and can be downloaded for the next step. Download the file and save it for the next step to activate the sensor in cloud-connected mode.
Activate the agentless Sensor
The following steps are required to activate the sensor and to perform the initial setup.
Log on to the management console from your browser and the CyberX credential, which was pre-defined, including password during the installation.
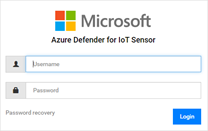
After sign in from the Activation page, upload the Activation File, which was saved in preview steps, approve the Terms and Conditions and click Activate.
After activation, I would recommend some best practices to follow:
- Create a new Admin account for management and only use the CyberX and support account if there is a need for it.
- Change the sensor’s name and, if required, the network settings in the network configuration settings.
Validate the Sensor
After logging in to the management console, the sensor can be validated.
I see the SPAN input is functional, and data is streamed from the mirror port.
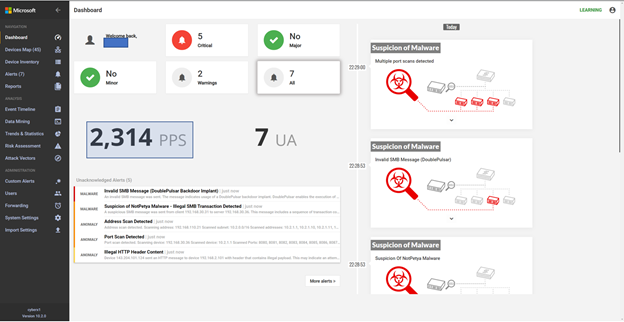
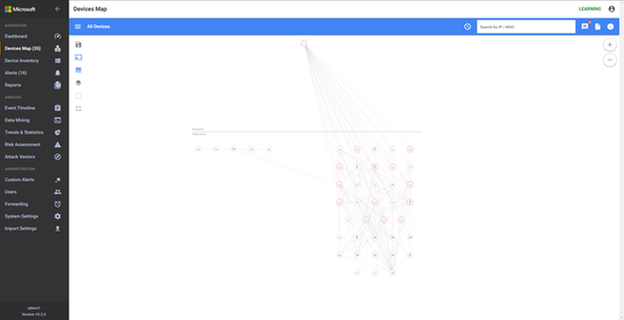
The sensor also discovered the asset as well as built a network map based on the discovery.
Integrate with Azure Sentinel
As the sensor is operated in a cloud-connected mode, the integration into Azure Sentinel is a one-click experience.
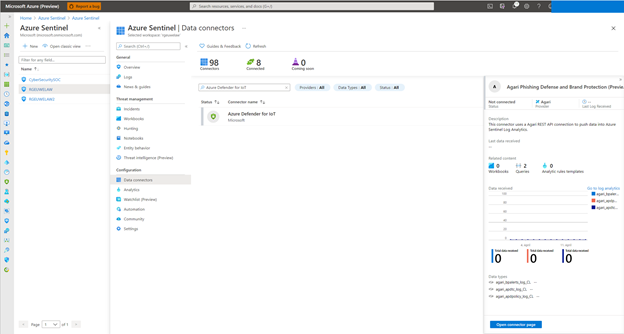
To enable the data connector in Azure Sentinel, open the Azure Portal and navigate to Azure Sentinel > Data connectors and search for the Azure Defender for IoT connector, then click to Open connector page.
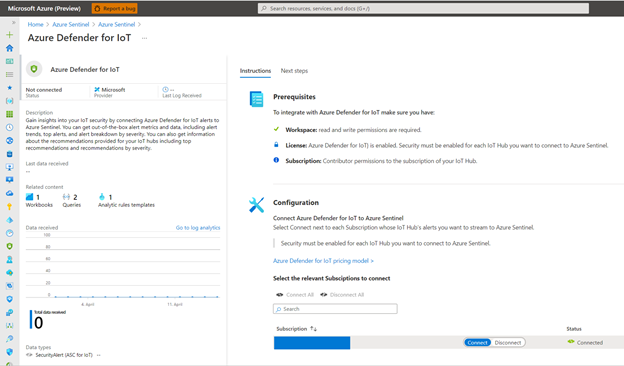
And click to connect your Subscription to stream IoT Hub alerts into Azure Sentinel.
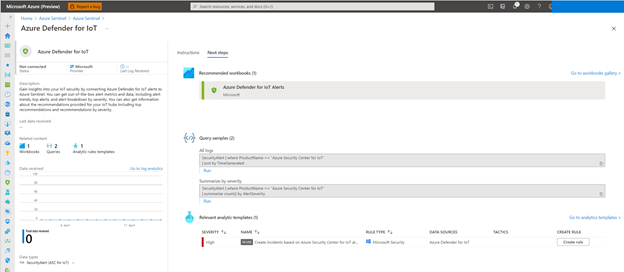
In the Next Steps selection, you can enable the Create incidents based on Azure Security Center for IoT alerts analytics rule to create incidents that Azure Sentinel can manage.
Additionally, use the Azure Defender for IoT Alerts workbook to gain insights into your IoT data workloads from Azure IoT Hub managed deployments, monitor alerts across all your IoT Hub deployments, and detect devices at risk act upon potential threats.
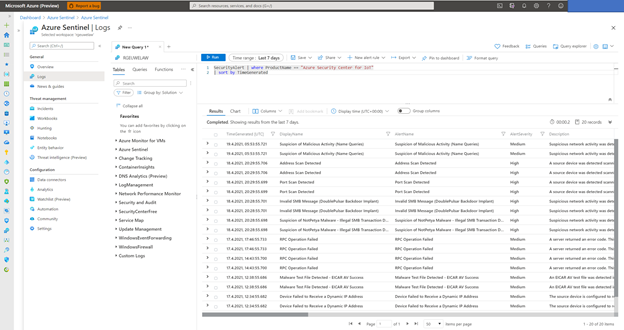
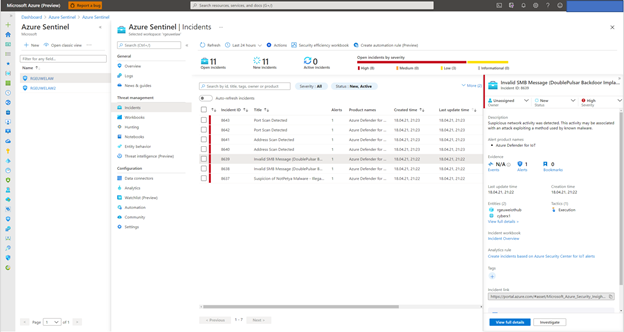
With the enabled data connector, you can manage the Defender for IoT incidents in Azure Sentinel. Please check the SecurtityAlert table for all the alert data from Defender for IoT.
SecurityAlert | where ProductName == “Azure Security Center for IoT”
| sort by TimeGenerated
Or from the Azure Sentinel Incident dashboard.
Summary
In this blog post, I covered the deployment of an agentless Defender for IoT sensors and the integration with Azure Sentinel to manage the security incidents.
Stay tuned for other IoT-related content in this channel.
Additional Resources
Azure Defender for IoT Landing Page
https://azure.microsoft.com/en-us/services/azure-defender-for-iot/
Agentless IoT/OT Security with Azure Defender for IoT
https://www.youtube.com/watch?v=8spIfxewaeM&feature=youtu.be
Thank you for
Additionally, many thanks to Paul Roberts and Clive Watson for brainstorming and ideas for the content.
Brought to you by Dr. Ware, Microsoft Office 365 Silver Partner, Charleston SC.


Recent Comments