This article is contributed. See the original author and article here.
Getting started with Video Indexer v2 API
Itai Norman Program Manager, AEDPLS, Video Indexer.
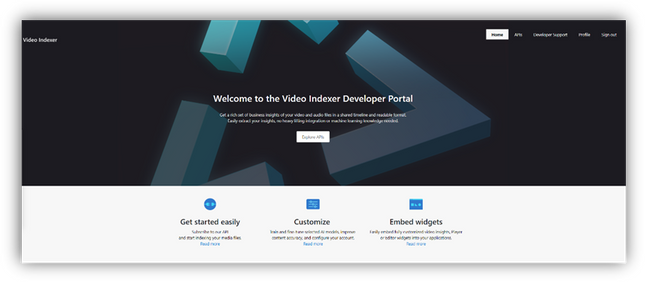
Video Indexer is an Azure service, that enables you to easily extracts business insights from your media files by using around 30 AI models. Using this service, you can enrich your videos with meta-data, transcription, and translation to more the 50 different languages, search in videos for faces, people, topics, spoken words, and much more.
Video Indexer can be leveraged in three ways: via a REST API, via a full flagged portal experience, and via embeddable customizable widgets, that enable customers to leverage the portal experience in their own applications. In this blog we will focus on how to get to know and get started with the Video Indexer REST API easily, using our brand-new developer portal! Via this portal, you can explore and try out all different APIs, find code samples and easily navigate between all Video Indexer’s communities and documentation resources.
In this blog, I will walk you through few basic steps:
- Register to Video Indexer’s API.
- Get familiar with the new developer portal.
- Detailed example of using the Video Indexer API to extract your insights in a readable JSON format file.
First thing first – get a Video Indexer account
Before starting to use Video Indexer’s REST API, you should have a Video Indexer account, you can start with a free trial account; Just sign-in with one of the following: AAD account, Personal Microsoft account, or a Google account and you are good to go!
Alternatively, you can get connected to your own Azure Subscription. If someone to their Video Indexer account, you could use that account as well.
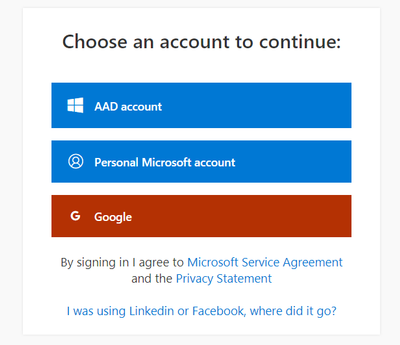
Register to Video Indexer’s API
Now we are ready to start using the Video Indexer developer portal. You will be welcomed with the Video Indexer developer portal landing page, just press the ‘Sign-in’ button on the top-right corner of the ‘Get Started’ button, to authenticate. When the authentication process is finished you will be connected to the developer-portal as a signed-in user, and you will see the following tabs in your top-right menu: ‘Home’, ’APIs’, ’Developer Support’, ‘Profile’, ’Sign out’.
Getting familiar with the developer portal
Before moving to an example of using Video Indexer’s API, let’s briefly explore what’s available for you in the portal.
The first tab is the APIs tab. It has a list of all APIs calls in VI’s environment, by choosing an API call you will get a sample of how the request would look like, a documentation table, and an option to try the API call through the portal.
On the ‘try it’ blade you will be able to enter the relevant parameters and get a glance at what would the API call and response look like.
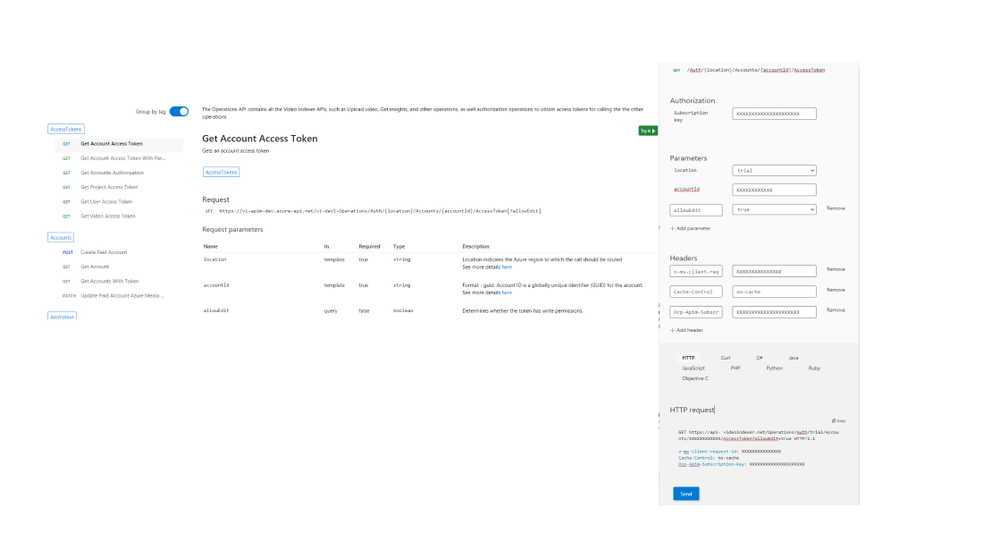
In the Home tab, you can find links to our documentation around main functionalities such as model customization and how to embed widgets. A three easy steps guide, on how to use Video Indexer’s API and a short code sample.
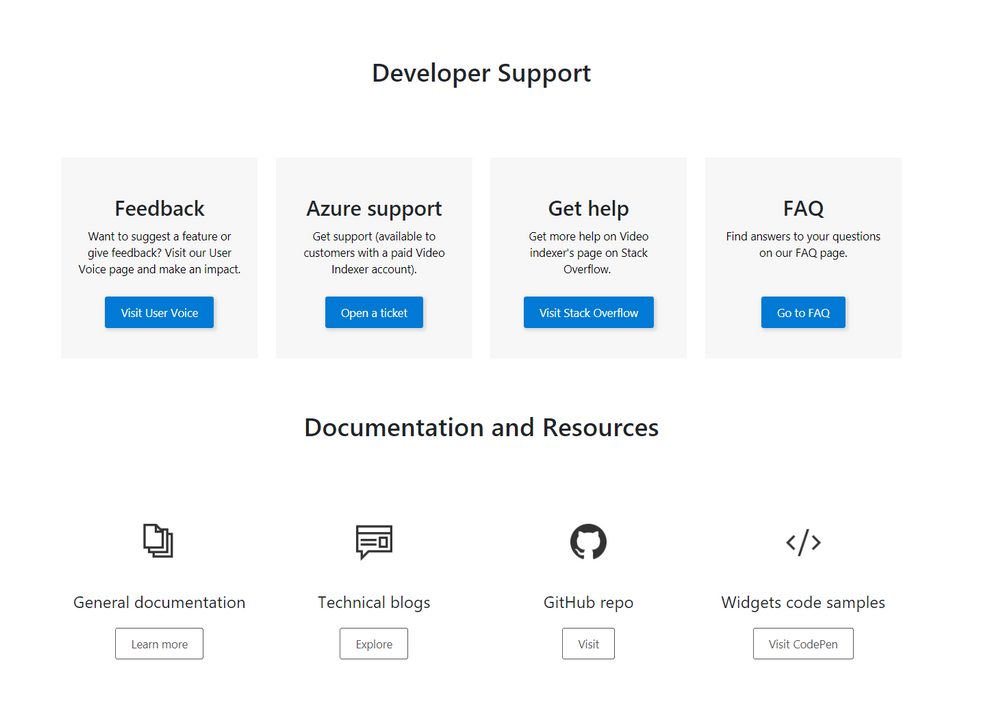
The Developer support page includes everything you need to learn about and get support for: GitHub repository, Stackoverflow page, ‘CodePen’ link with widgets code samples, and Video Indexer’s tech community relevant blog posts. Also available in the developer support, Video Indexer’s FAQ page, a ‘User Voice’, where you can suggest Video indexer capabilities and features that may be helpful for your business needs, and a general documentation link.
Using the API
This is really what we are here for, right? So, let’s see how to start using the VI API…
Getting the account id and access token.
In this section, I’ll walk you through the basic flow that lets you get media insights from Video Indexer, with only three calls: Getting an ‘AccountId’ and ‘Access Token’, uploading a file and retrieving the insight JSON file, and I’ll use the developer portal to do so.
First, open the developer portal, under the ‘APIs’ tab go to the ‘Get Accounts Authorization’.
Enter the query parameters:
- Location – ‘trial’ (or for non-trial account enter the region for your account)
- Generate Access Token: true.
At the bottom of the ‘Try it’ blade hit ‘Send’.
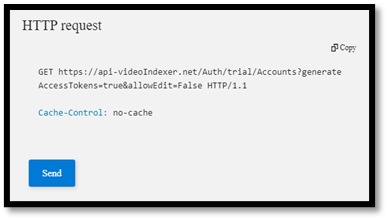
You should receive a 200 ok response with the appropriate data.
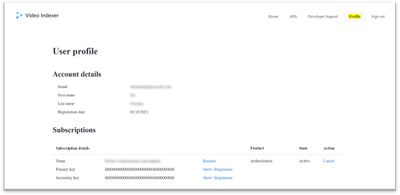
Open a Notepad or similar app to keep the different values of the response, you will need it in a minute… form the response save the: ‘Id’ which is the ‘Account Id’, and the ‘Access Token’.
Upload video

Now we have everything we need to upload the first video. Go to ‘Upload video’
enter the query parameters:
- Location: ‘trial’ (For non-trial account enter the region e.g. “eastus”).
- AccountId: GUID you received it in your ‘Get Accounts Authorization’.
- Name: give the video a name.
- VideoUrl: The full path of the video you want to upload, note, that video Indexer support a wide range of video and audio file formats, but it has to be a URL for a file (and not a HTTP link for example)
- Access Token: the ‘Access Token’ we got at the previous step.
, and hit ‘Send’.
Form the ‘upload video’ response fetch the ‘id’ – which is the Video Indexer id for the file you just uploaded. We will need it in the next step.
Getting Insights
Once the indexing completed (which might take a few minutes), we can use the third call, to see what Video Indexer was able to extract. Go to ‘Get Video Index’
enter the query parameters:
- Location – ‘trial’ (For non-trial account enter the region e.g. “eastus”).
- AccountId: GUID you received it in your ‘Get Accounts Authorization’.
- VideoId: we received from the last API call.
- Access Token: the ‘Access Token’ we got at the previous step.
, and hit ‘Send’.
And Walla… all the insights will be returned in a Json format file.
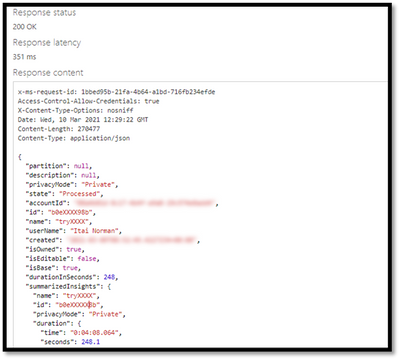
Congratulations! you just got your first set of insights in a readable JSON format.
So, what’s next?
Use these relevant articles to learn more on how to use Video Indexer:
- Examine Video Indexer output.
- Considerations when using Video Indexer at scale
- Video Indexer API
- Customize your models (Person, language, and Brands)
- Embedded widgets
Use these links to read more technical articles around Video Indexer:
- Video Indexer introduces expanded regions multi language
- Live stream analysis using Video Indexer
- Generating captions with Video Indexer and Logic Apps
Brought to you by Dr. Ware, Microsoft Office 365 Silver Partner, Charleston SC.


Recent Comments