This article is contributed. See the original author and article here.
With Universal Print, Microsoft makes moving print to the cloud easy. Time spent managing on-premises print servers and fiddling with print drivers is soon a thing of the past. Going further with YSoft OMNI Series™, a business can get take advantage of the Universal Print feature in Microsoft 365 on the printers they have today without using an expensive print server. But what is it like to install YSoft OMNI Series? How long does it take? Answers to these questions and more are answered.
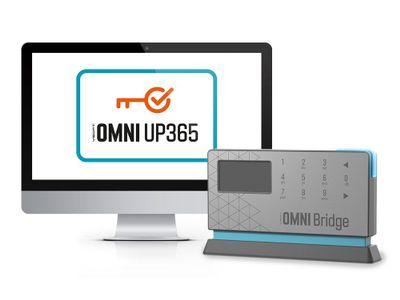
OMNI Series consists of two parts. YSoft OMNI Bridge™ and YSoft OMNI Apps™.
YSoft OMNI Bridge, a serverless edge device, sits in your secure network, much like a router, minding its own business and doing its job, connecting to Microsoft 365 to pull your print jobs to a printer in your office.
The second part of OMNI Series is the OMNI UP365™ App. This is a cloud service for Universal Print that OMNI Bridge uses to do its job.
Now that we have that out of the way, let’s install it.
Installing OMNI Bridge
When you purchase , the OMNI Bridge is shipped to you. There are four quick installation steps to perform before connecting it to the OMNI 365 cloud service.
- Unpack the box
- Plug OMNI Bridge into a power source and connect an ethernet cable
- Make a note of the verification code that will appear in OMNI Bridge’s display
- Go to https://microsoft.com/devicelogin and enter the verification code and login to Microsoft 365
That’s it. OMNI Bridge’s LED light turns blue and the display says “Idle”. Now it’s time to connect your printers to the OMNI UP365 service.
Connecting Printers to OMNI UP365
As you might expect, this part has a few more steps, oh wait, it is only four steps too! In this part, you will assign each cloud subscription purchased to one of your printers.
- Navigate and login to http://omni.ysoft.com (available only to OMNI Series customers) and login with your M365 admin credentials (requires the Printer Administrator role).
- Select Connectors – all the OMNI UP365 subscriptions that you purchased are listed.
- OMNI Series will auto discover printers on your network and display them. (Manual registration is also possible.) Select the desired printer and confirm connecting it to an OMNI UP365 App. Each OMNI Bridge can connect up to twenty-five printers using twenty-five OMNI UP365 Apps. The display on OMNI bridge will change to indicate the number of printers connected.
- Share the Universal Print / OMNI Series connected printer with your users.

Users do not have to do anything differently to begin printing. They can CTRL-P or submit a print job as they normally do from their workstation and retrieve it at the same printer they’ve always used.
Congratulations! You have moved printing to the cloud. On your current device, no less!!
Brought to you by Dr. Ware, Microsoft Office 365 Silver Partner, Charleston SC.

Recent Comments